-
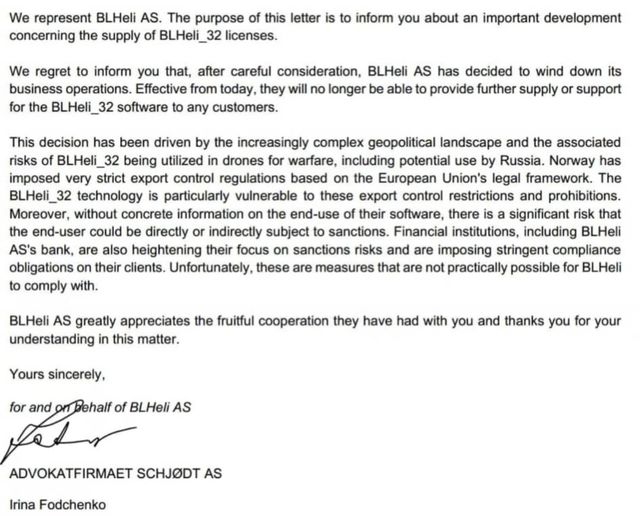
BLHeli_32 is dead, killed by the war in Ukraine
Hm, to be honest, I’m not sure what to think about it and the fact that BlHeli AS (company that develops and sells BLHeli 32 licenses) is closing operations as it was impacted by the export control regulations towards Russia. In other words, sanctions. We will not go into geopolitical aspects of things, but let’s concentrate on the impact on RC and FPV hobby . This is much more interesting.
First thing is that everybody has to understand that this impacts ONLY new BLHeli 32 ESC and probably upgrade process, as well source code availability for open source BLHeli. So, once license pools ESC manufacturers already purchased are still valid and as long as they have them, they might still produce new ESC. It’s also 100% probable that someone will just ignore BlHeli AS and will start flashing new ESC without license. If BlHeli 32 is closing, who will chase them? At the moment we also have to assume that it will not be possible to update ESC to latest versions as nobody will be developing BlHeli 32 anymore.
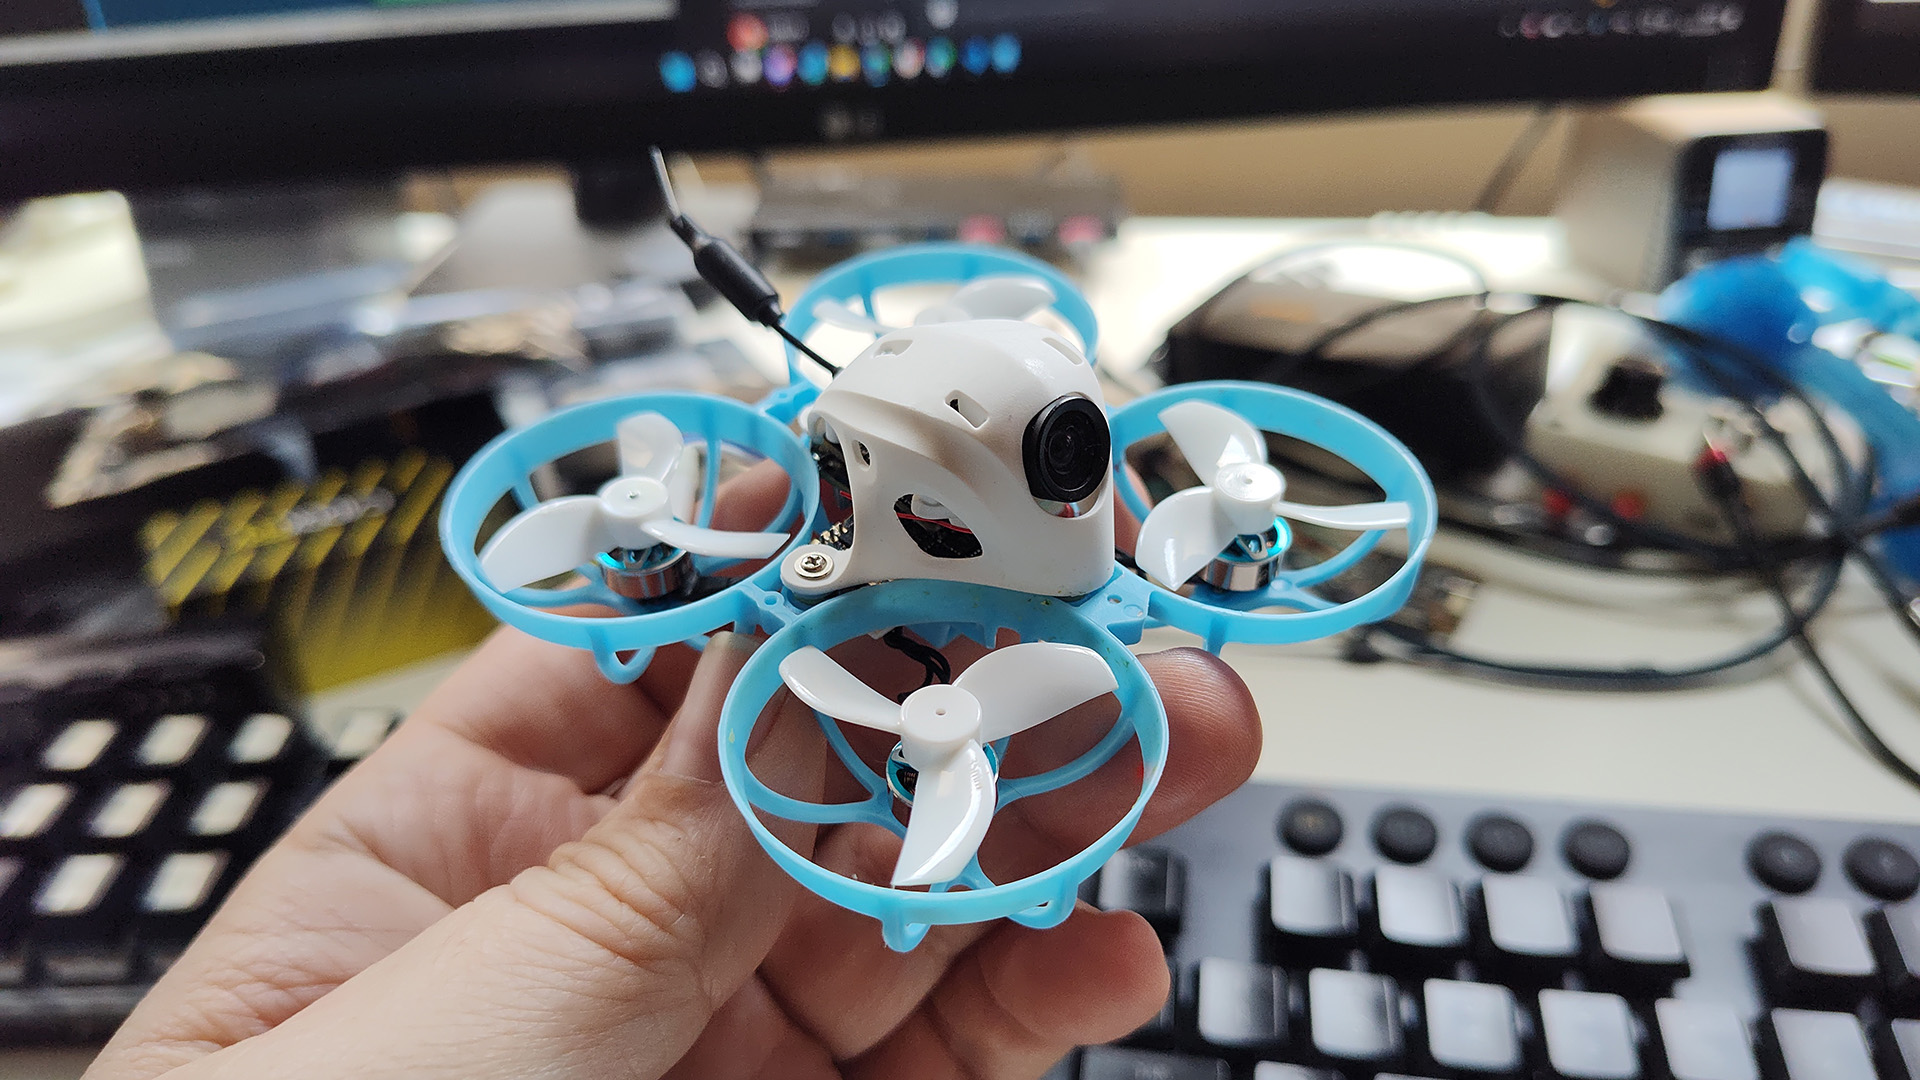
But, this does not mean your ESC will stop working! If you have a drone, it will continue to fly just like before. Also, I would not expect ESC shortage on a longer run! You have to understand, BlHeli 32 is not the only software on the market. There is AM32, BlueJay, original BlHeli and ESCape32. The fact that new licenses for BLHeli 32 are not available means ESC manufacturers will switch to the competition.
And yes, this is true. I got confirmation that this is very much happening!
So, it will be fine! And happy flying!
Read more... -
iFlight Defender FPV drone INAV target
If you own a iFlight Defender 25 or any other iFlight FPV drone with a Blitz F722 X1 flight controller and you would like to try INAV with its superior GPS capabilities, fear not, I have good new for you. You can download INAV 7.1.1 files for the iFlight Blitz F722 X1 flight controller from the links below:
And, like always, happy flying!
Read more... -
INAV 7.1 release
Great news! INAV 7.1 is available for download and flights! In this minor update we give you a couple of new features as well as a few fixes. The biggest features would be: Fixed wing Autoland with landing pattern, greatly improved magnetometer and barometer handling including mag-less navigation (bear in mind, it’s still partially experimental) and tailsitter VTOL support.
Read release notes https://github.com/iNavFlight/inav/releases/tag/7.1.0 Configurator download https://github.com/iNavFlight/inav-configurator/releases/tag/7.1.0
And, like always, happy flying!
Read more... -
INAV on Tiny Whoops
Believe it or not, but INAV is quite good in many things, not only airplanes and long range drones. It is perfect for flying Tiny Whoops as well! Hell, it’s even quite good at it. INAV 7.1 will have an unofficial target for the BETAFPVF411 that power a lot of whoops: Meteor65 pro, Meteor75Pro, Meteor 85 and similar. You are free to test it by yourself! Firmware can be downloaded from the link below. You will need INAV Configurator 7.0 or INAV Configurator 7.1.
Bear in mind, SPI ELRS receiver is not supported, it has to be serial port connected receiver
INAV 7.1 firmware for BetaFPV F411 flight controllers: Meteror 65 Pro, Meteor 75 Pro and similar
Read more... -
Walksnail Goggles X solve a problem
The Walksnail Avatar FPV system just got a huge upgrade. The Goggles X, as the next generation of Avatar goggles are called, solve a few major problems known from previous model. You get HDMI and Analog input. It’s possible to use Goggles X with Walksnail, Analog FPV and even HDZero. Only if you figure out how to attach receivers to those goggles.
New goggles have a user replaceable video receivers. If in the future Walksnail releases upgraded video link (and they stated they want to do it in 2024) you will be able to just swap the receiver board instead of buying new goggles. On top of that, SD Card slot is finally in easily accessible place and goggles fit into case with antennas installed. OK, you maybe loose power switch, but new changes are a very nice step forward! I’m looking forward to the summer 2024 when Caddx Walksnail should present new receivers and video transmitters.
Read more... -
Deity VO-7U USB microphone for streamers
Deity VO-7U is a great example of a quality dynamic microphone made for content creators. The fact that it’s USB connected simplifies the setup as it does not require any XLR interface. But the main question remains: is the Deity VO-7U a good dynamic microphone? Is it worth it? After all, for $170 it’s not the cheapest mic ever. Not the most expensive, but not cheap for sure!
Read more... -
How to record good audio for YouTube
Recording good audio with cheap microphone is not a trivial task. Here are some tips on how to improve quality of you audio recording on a cheap. The first 3 tips are 100% free. For the bonus one, you might have to buy some pillows and a rug. But the most important advice is just to move your mouth closer to the microphone. Everything will sound so much better!
Read more... -
Are cheap mics worth the money?
Introduction
When it comes to capturing high-quality audio in various professional settings, shotgun microphones have become an indispensable tool for filmmakers, broadcasters, and audio enthusiasts alike. These microphones excel at capturing focused sound from a specific direction while minimizing unwanted noise from the surroundings. However, the market offers a wide range of shotgun microphones at vastly different price points, leaving consumers wondering about the quality differences between cheap and expensive options. In this article, we will explore and dissect the disparities in quality, performance, and features between affordable and high-end contender shotgun microphones.
Build Quality
One of the most noticeable discrepancies between cheap and expensive shotgun microphones lies in their build quality. High-end contenders often boast superior construction materials, robust designs, and meticulous attention to detail. Expensive microphones typically feature durable metal bodies, reinforced shock mounts, and reliable connectors. Conversely, cheaper alternatives tend to be made from plastic or lower-grade materials, making them more susceptible to damage and wear over time.
Read more... -
Boya BY-BM6060 shotgun microphone review
In today’s digital era, high-quality audio is essential for various applications, including film production, broadcasting, and podcasting. A reliable shotgun microphone can make a significant difference in capturing clear and professional-grade audio. In this blog post, we will provide a detailed review of the Boya BY-BM6060 XLR shotgun microphone, focusing on its features, performance, and usability.
Overview: The Boya BY-BM6060 is a shotgun microphone designed for use with video cameras, audio recorders, and other devices that support XLR input.
-
Super-Cardioid Polar Pattern: This microphone utilizes a super-cardioid polar pattern, allowing it to focus on capturing sound from the front while rejecting unwanted noise from the sides and rear. This directional sensitivity ensures excellent isolation and minimizes background distractions.
-
Wide Frequency Response: The microphone offers a wide frequency response range, typically covering the audible spectrum of human hearing (20Hz to 20kHz). This range ensures accurate reproduction of sound across different frequencies, resulting in clear and natural audio recordings.
-
Phantom Power Compatibility: The BY-BM6060 is phantom power compatible, requiring +48V phantom power to operate. This feature enables seamless integration with various professional audio recording devices that provide phantom power, ensuring optimal performance.
-
-
How to check if YouTube video is a SHORT
YouTube and Google do not allow to check if a YouTube video is a Short or a long form video in a simple way. Even the YouTube Data V3 does not provide this information. Yes, you can get a video length (ISO8601 formatted duration) and assume that videos shorter then 60 seconds are Shorts. But what if you have a horizontal video of 59 seconds length? A problem.
Luckily, there is a relatively simple way of checking that only if you know the YouTube video ID. Bear in mind, this is an unofficial hack and might stop working without any warning. But when I’m writing those words it works just fine.
The trick is to make a HEAD request to
https://www.youtube.com/shorts/{id}. If you get HTTP response code 303 (See Other) then video is not a Short, but other long for video. HTTP response status 200 (OK) means it is a YouTube Short.The code that does this check with Apache Http Client looks like this:
Read more...package com.quadmeup; import java.io.IOException; import java.security.GeneralSecurityException; import org.apache.http.HttpResponse; import org.apache.http.client.methods.HttpHead; import org.apache.http.impl.client.CloseableHttpClient; import org.apache.http.impl.client.HttpClientBuilder; public class IsShort { public static void main(String[] args) throws GeneralSecurityException, IOException, InterruptedException { try (CloseableHttpClient client = HttpClientBuilder.create().disableRedirectHandling().build()) { HttpHead request = new HttpHead("https://www.youtube.com/shorts/HnqJKThLEWg"); HttpResponse response = client.execute(request); if (response.getStatusLine().getStatusCode() == 303) { System.out.println("Not short"); } else { System.out.println("Short"); } } } }
- •
- 1
- 2

I'm Paweł Spychalski and I do things. Mainly software development, FPV drones and amateur cinematography. Here are my YouTube channels: