WiFi telemetry for Cleanflight with EZ-GUI and ESP8266
Some time ago I have written a tutorial how to setup Bluetooth based telemetry link between Cleanflight and PC or smartphone. It's simple and it works. But it has some disadvantages. For example, connection is very very slow and has a limited range: up to 10 meters. While it is enough to change PIDs before flight or plan a mission with EZ-GUI, it is not enough to have a real, usable and reliable, telemetry link.
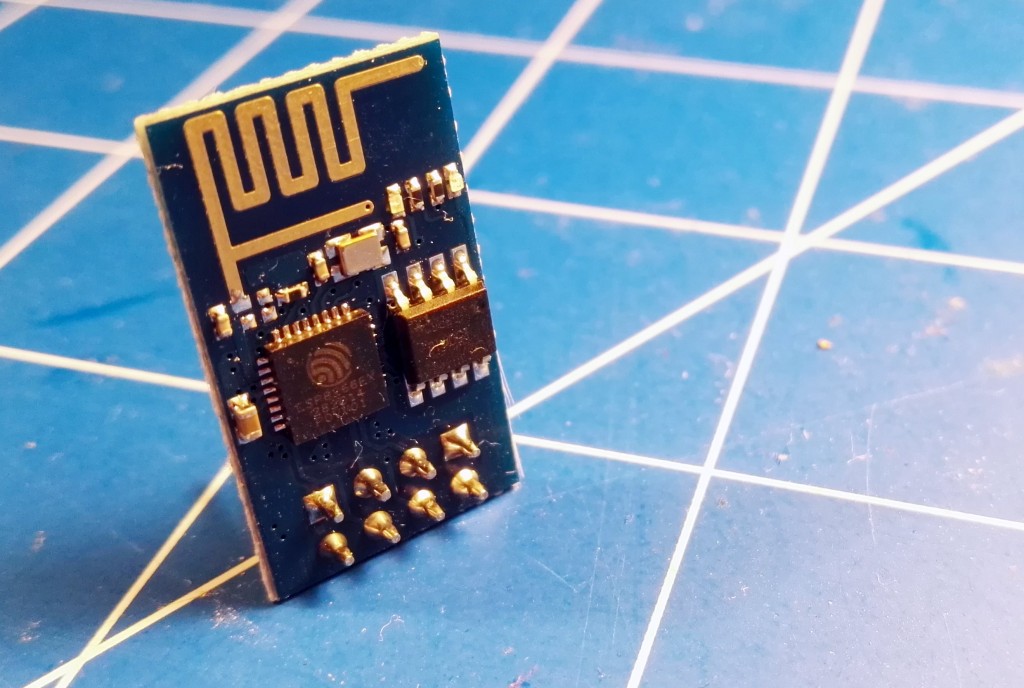
Luckily, Bluetooth is not the only cheap radio protocol we can use for purposes like this. Why not to use WiFi? Since market saw ESP8266 some time ago, cheap programmable WiFi modules became a reality. There are cheap, they are simple to use and can be programmed to do much more than just act as Access Point or network client. There are many alternative firmwares. For example ones that provides transparent bridges via TCP to allow pass serial ports over WiFi. Almost like serial over Bluetooth, but using WiFi instead. In theory that gives more range, higher speed and lower delay. Why not to use it to connect Android smartphone to drone flight controller and have nice an cheap telemetry solution? Exactly, why not. In this example how to do it with Android EZ-GUI and Flip32 running Cleanflight 1.12, but exactly the same trick can be used for Betaflight, SPracingF3, iNav, Baseflight, Naze32, APM, Pixhawx, MultiWii. If anything is using UART, it can also use ESP8266 as serial bridge over WiFi.
Things we need
- Flight controller with free UART serial port. It can be hardware or Software Serial. In this example it will be Flip32 running Cleanfligh 1.12 via MSP protocol, but it will work for MAVLink too
- ESP8266 with flashing device
- 3.3V voltage regulator, for example LM7833 with 100uF capacitor
- 1kOhm resistor
- Some cables
- In case of 5V flight controllers, logic level converter will be required between FC and ESP8266. Flip32 and Naze32 has 3.3V output on UART2, so it is not needed. Check flight controllers hardware documentation, if not sure, use multimeter to check the voltage on UARTs TX pin
- EZ-GUI software. In case of different controllers different software have to be used. If you want to use a laptop instead of Android phone, virtual COM port has to be created. This highly depends on operating system and will not be covered here
Ready, steady, go
- Download and flash ESP8266-transparent-bridge using this tutorial. At the moment of writing this tutorial, command to flash it is
python esptool.py -p {COM_PORT_GOES_HERE} write_flash 0x00000 0x00000.bin 0x40000 0x40000.bin. In case of Windows it will one of COMs (usually COM3-COM5). In case of Mac and Linux /dev/tty.* , for example /dev/tty.usbserial-A50285BI - Power down, disconnect USB to serial converter, do not pull GPIO0 to GND any more (exit flash mode) and power WiFi up
- Connect to ESP8266 with a laptop or PC. There should be WiFi AP called ESP_xxxxx. By default, AP has 192.168.4.1 IP address, PC will have 192.168.4.2
- Telnet into module with
telnet 192.168.4.1or use Putty, or any different telnet software. It will take at least few seconds to establish working telnet connection, so be patient - Now, we have to configure ESP8266 with AT commands. For example:
+++AT AP DroneWiFi mypassword 2set AP name and password+++AT BAUD 115200set UART speed
- Build a 3.3V power supply for ESP8266 for your UAV. I'm using LM7833 voltage regulator
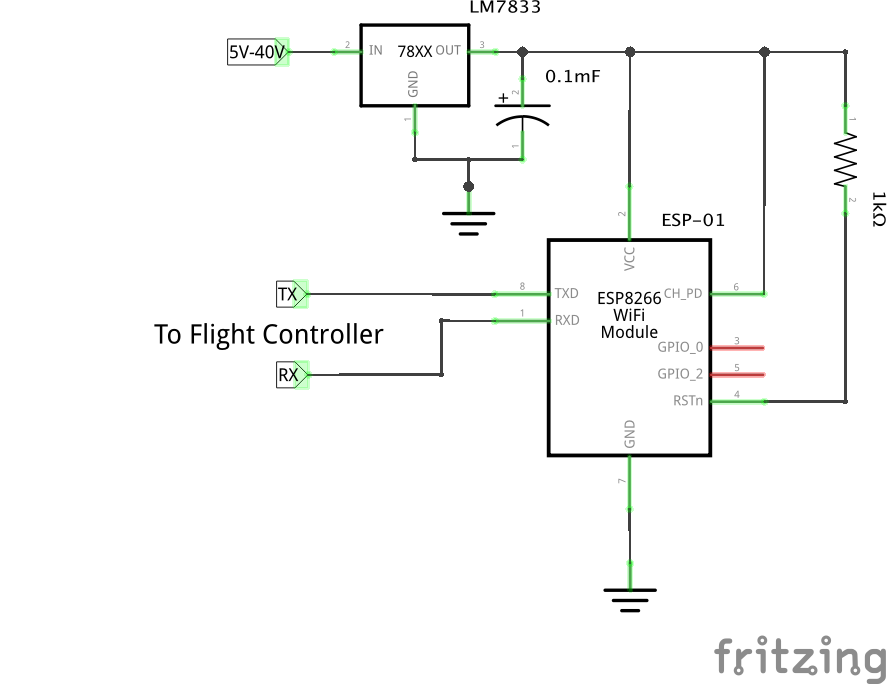
- Connect ESP8266 to flight controller's UART port (in this case UART2). Remember to check voltage. It has to be 3.3V of FC side. If it is 5V, use a logic level converter. My Flip32 has 3.3V on UART2, so I had no problems
- Open Cleanflight Configurator and enable MSP protocol of serial port you want to use. UART1, UART2 and UART3 (for F3 targets) can be used. SoftSerial ports will also work, but then speed has to be lowered to 19200 bps
- Power up flight controller and ESP8266. WiFi network you configured in step 5 should be visible. Connect to it with Android device
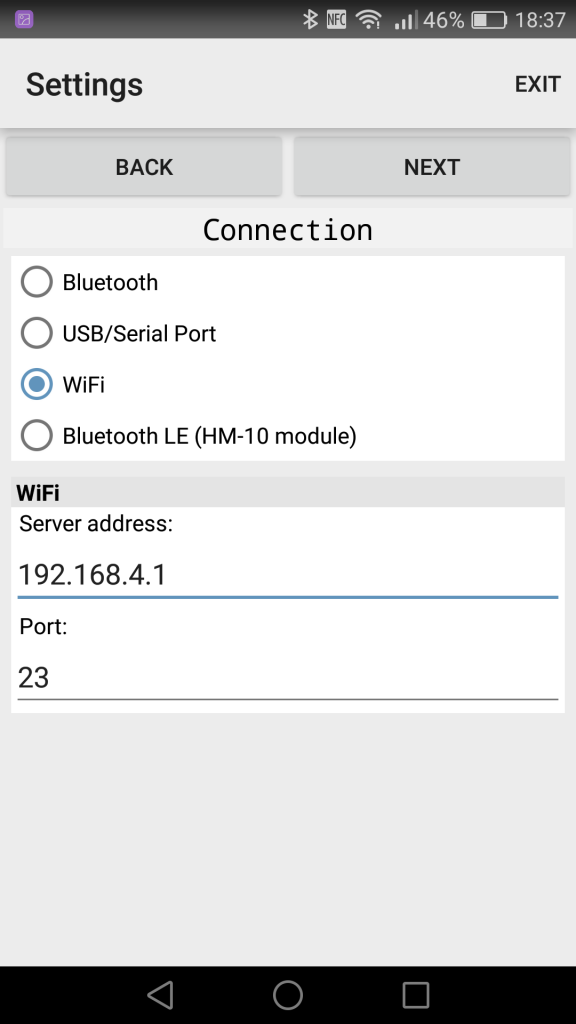
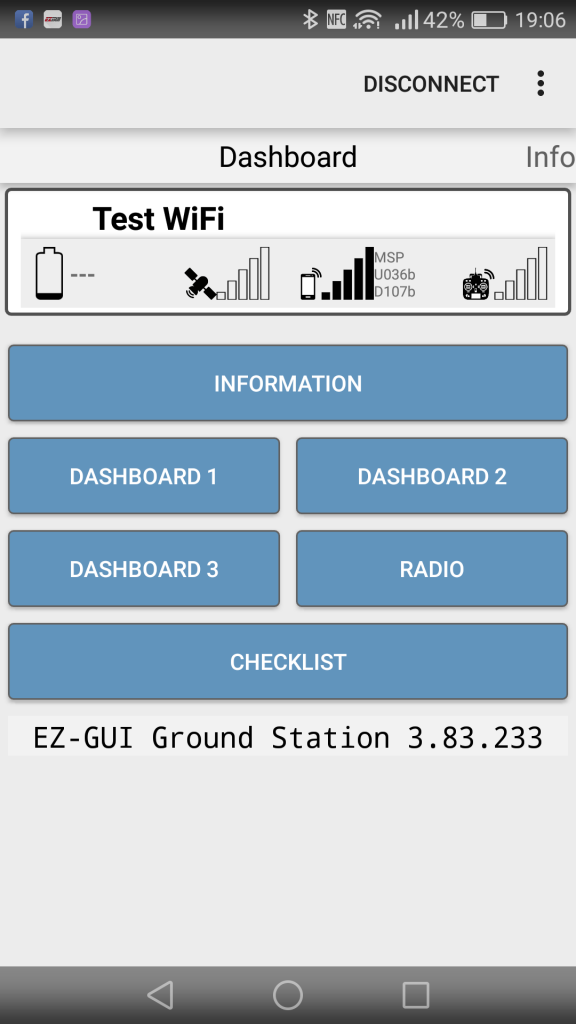
- Open EZ-GUI and in Settings choose:
- Save setting and hit Connect button
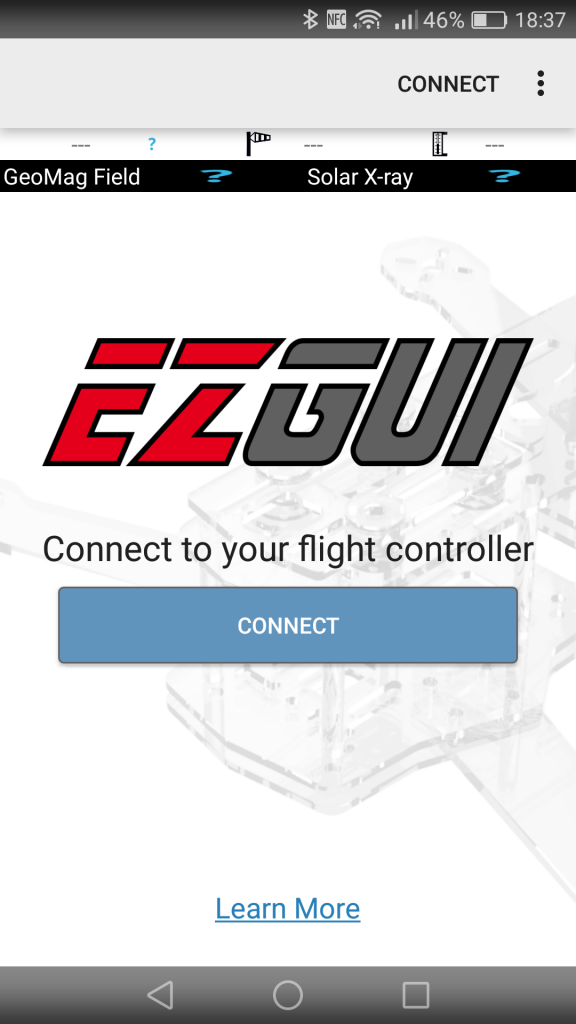
- Congratulations, from now on you can access and configure your flight controller with a smartphone over WiFi network
Summary
I have tested this setup last weekend, and honestly, I was disappointed. Yes, it works, yes, it is much faster than Bluetooth bridge, but:
- Range did not improved. ESP-01 has tiny PCB antenna and it just can not work well. Practical range was about 10m, more less the same that Bluetooth gives
- EZ-GUI was not stable in this mode
- Smartphone looses intenet connection, since WiFi it is connected to does not supply internet

I'm Paweł Spychalski and I do things. Mainly software development, FPV drones and amateur cinematography. Here are my YouTube channels:

