iNav: Cleanflight learned how to do missions
In my recent post I mentioned that iNav flight controller software (fork of Cleanflight) introduced missions. Missions are preprogrammed waypoints that drone will fly to in specified order and/or do specified action at each of them. For example, if pilot wants to make a video on specified route, he does not have to pilot his drone all the time. He enters waypoints and lets machine do everything else. In this entry I will show how to configure iNav to do missions.
Requirements
- iNav compatible drone flight controller flashed with iNav software. Currently supported boards are: Naze32, Flip32, CC3D, SPracingF3, Sparky, RDMO
- GPS module connected to flight controller board. This example shows how to do it for Flip32, but it will work for all other boards, only UART pins might be different
- Magnetometer connected and properly calibrated
- Barometer connected
- EZ-GUI Ground Station Android application that will act as Mission Planner. Official Cleanflight Configurator does not support this function yet
- Bluetooth telemetry. Some time ago I have written how to do it for Flip32, but it will work almost the same for all other flight controllers, only UART pins might be different
Configuration
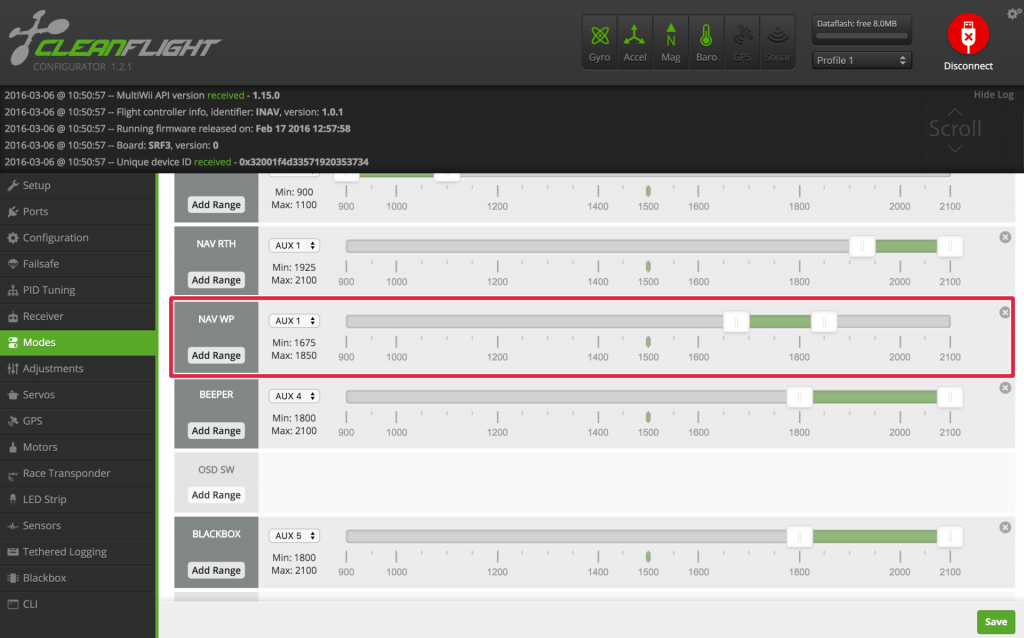
- Open Modes tab in Configurator and enable NAV WP flight mode on one of AUX channels. This is required to turn on and off Missions when needed
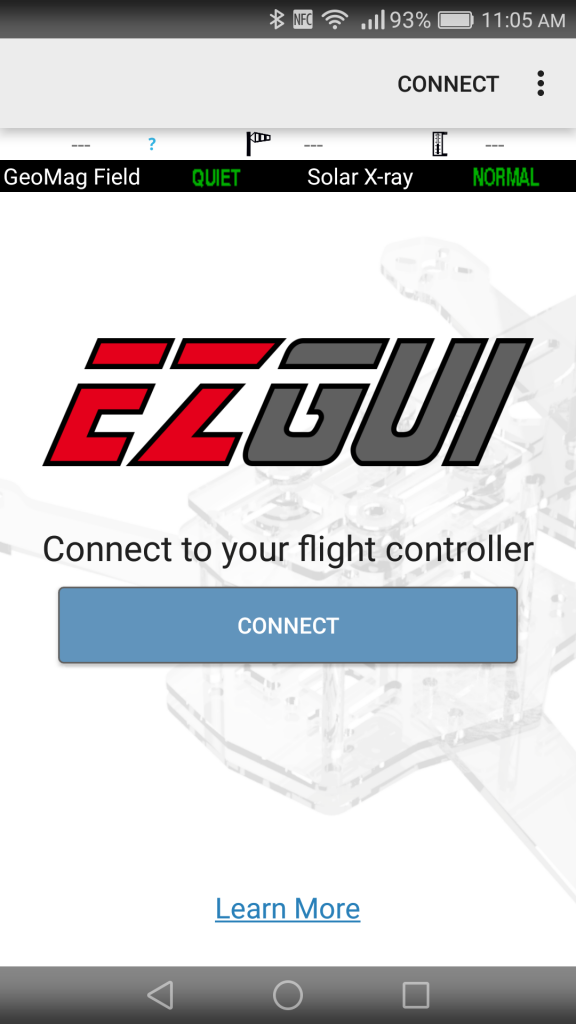
- Having Bluetooth telemetry set up and EZ-GUI application configured, open EZ-GUI and connect to iNav
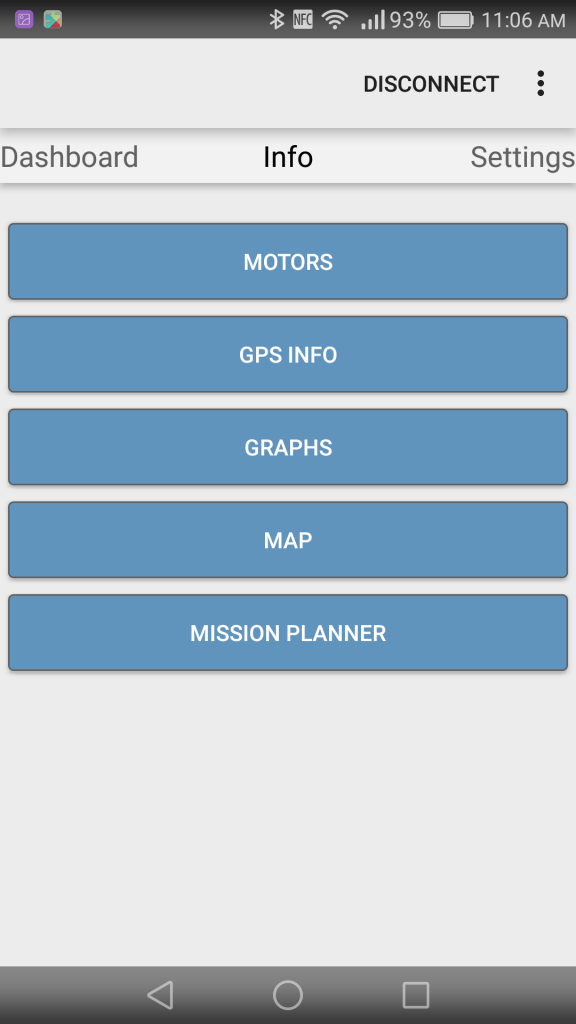
- Goto Info tab. Mission Planner button should be visible. If not, most probably GPS, Baro or Mag sensors are not connected and/or configured
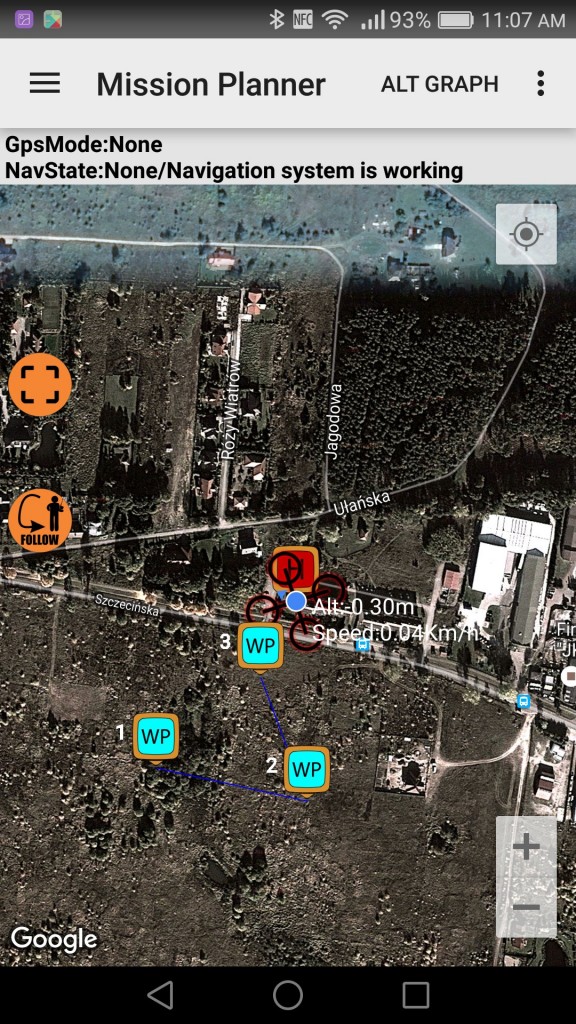
- Run Mission Planner. You will see map showing yours and drones location
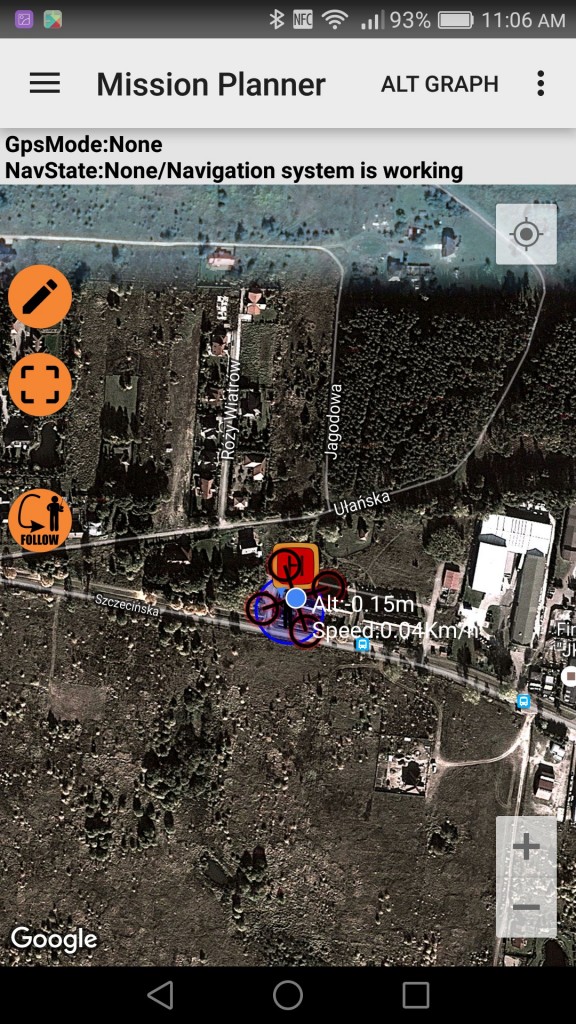
- Tap screen to put a new waypoint. You can have several of them, for first tries I suggest not to fly too far. 100m should be enough to get familiar with this function
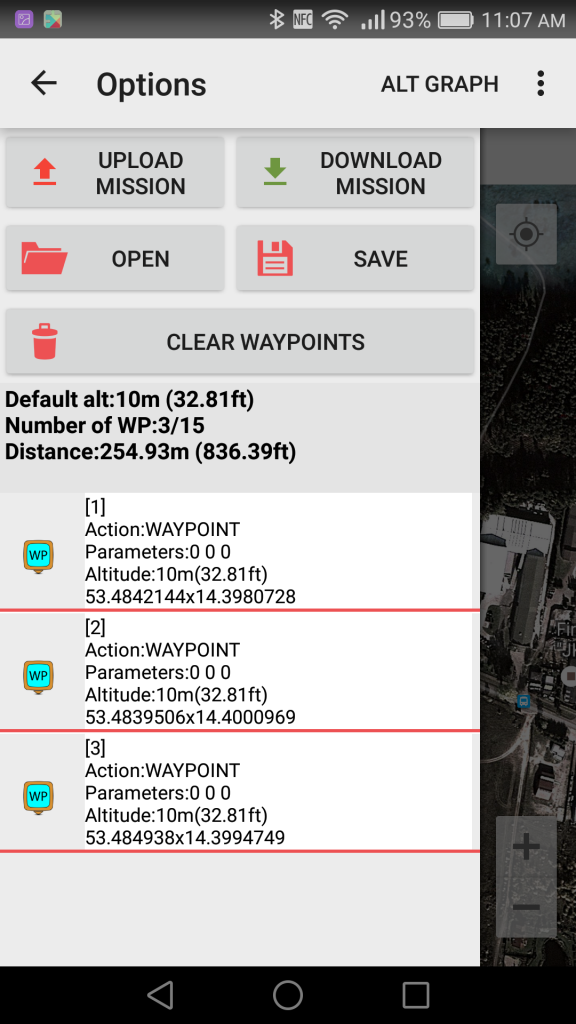
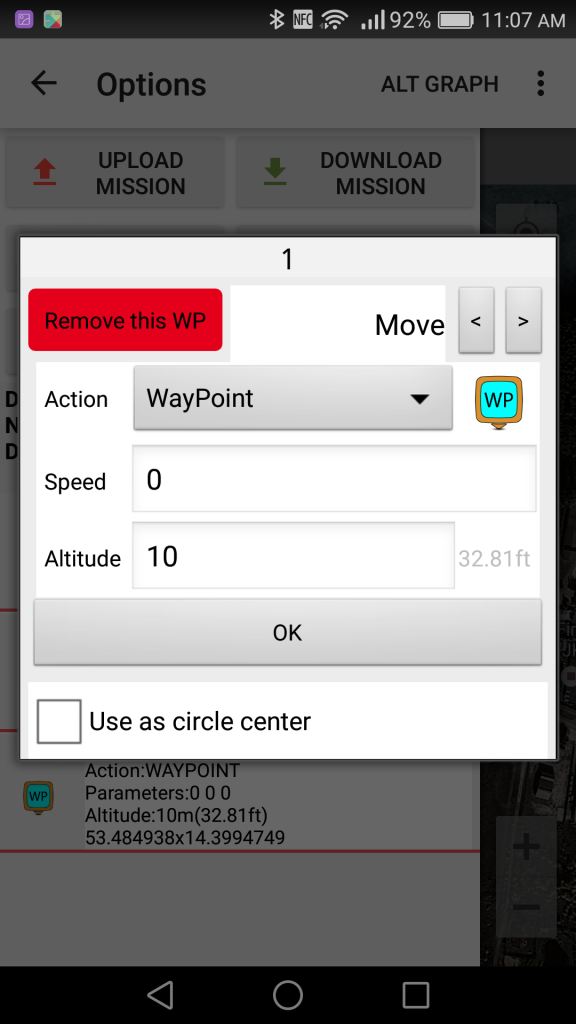
- Taping "hamburger menu" will reveal list of entered waypoints and additional options. Each waypoint can be edited (target altitude, action) or deleted here
- When you are done with mission planning hit Upload mission button
Execution
After uploading mission to flight controller you are ready to start.
- Ensure you have good GPS fix. iNav will not let you arm without 3D GPS fix, but this can be disabled. And the way I see it, it's better not to try to enable mission mode without very good GPS fix
- Arm your drone and take it into the air in Angle or Horizon mode. You can take off in Position Hold as well, but I've learned that it's better to do in without GPS
- When in air, engage NAV WP. Drone should automatically reach first waypoint's position and altitude, then second's and so on...
- Keep a finger on flight modes switch to be ready to go back to Angle/Horizon model on any sign of trouble. Hopefully it will not be needed, but forewarned is forearmed
- If last waypoint's action was Waypoint, drone will engage Position Hold there. If it was Return To Home, it will do it and land

I'm Paweł Spychalski and I do things. Mainly software development, FPV drones and amateur cinematography. Here are my YouTube channels:
