DIY camera slider with ESP32 and Arduino
If you go into the video production, even as simple as short videos for YouTube, you will discover that to shoot better B-rolls and add some dynamics to usually static shots (if you do not work with a real cameraman), one could use a camera slider!
You can buy one. That is always an option. But if you want a motorized slider with remote control, you might discover that they are not cheap. You will need at least a few hundredths dollars to buy something useful.
The other option is to build one yourself. This is the option I have chosen.

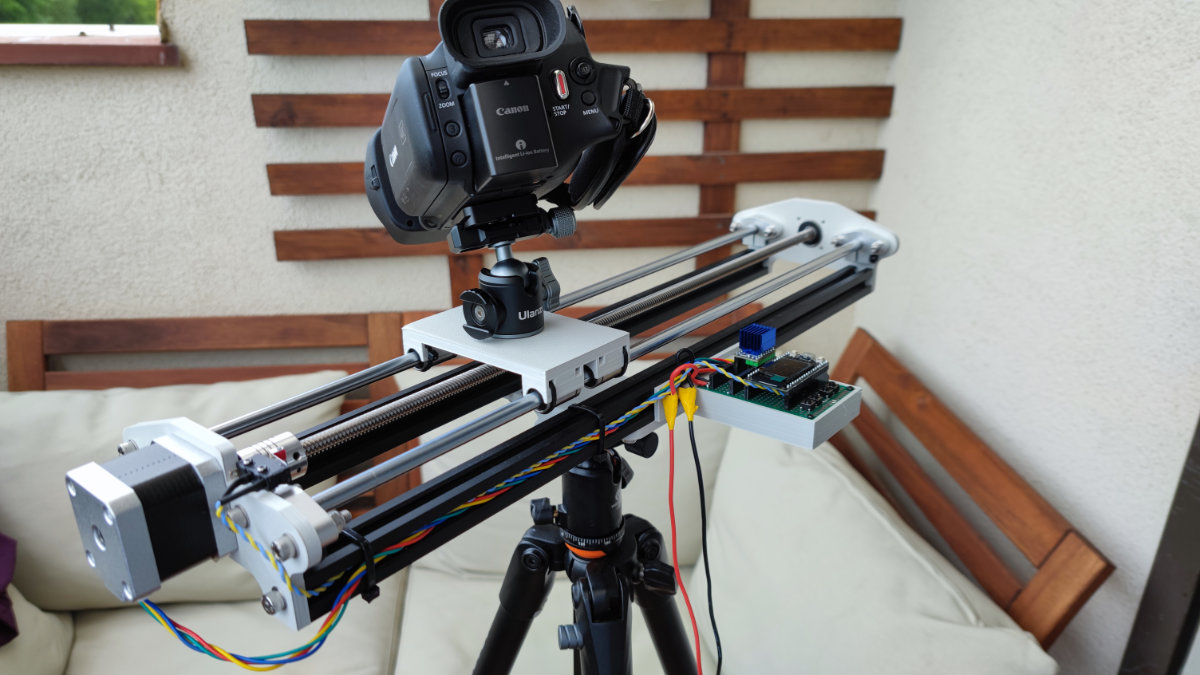
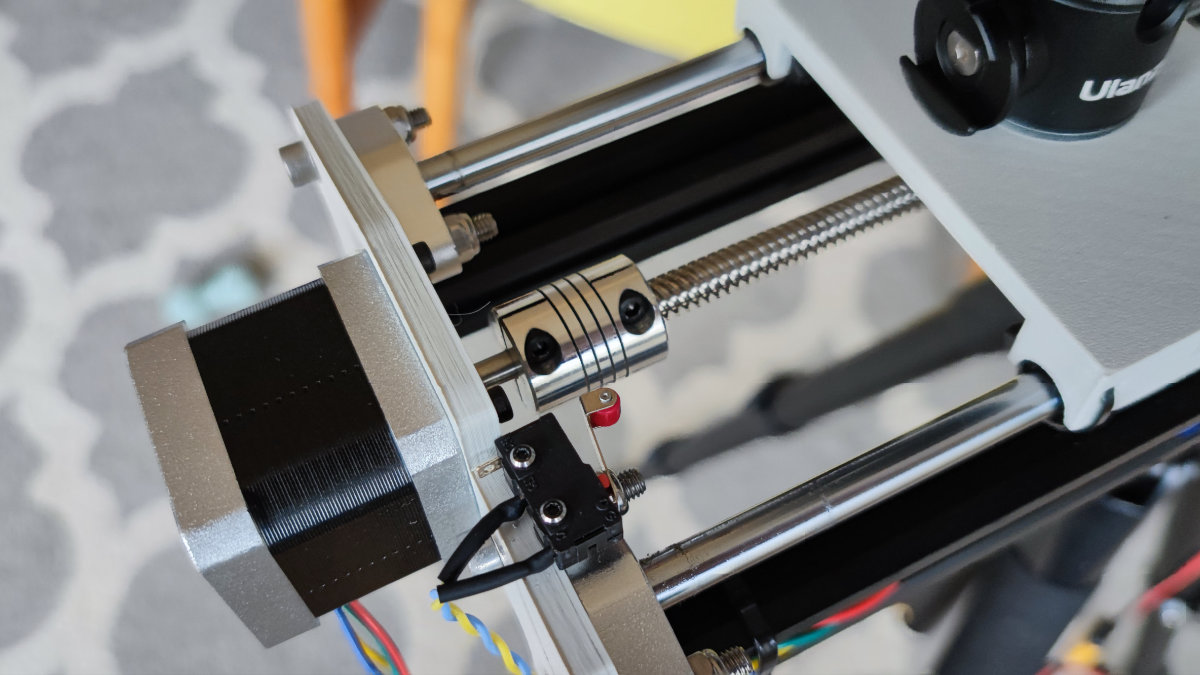
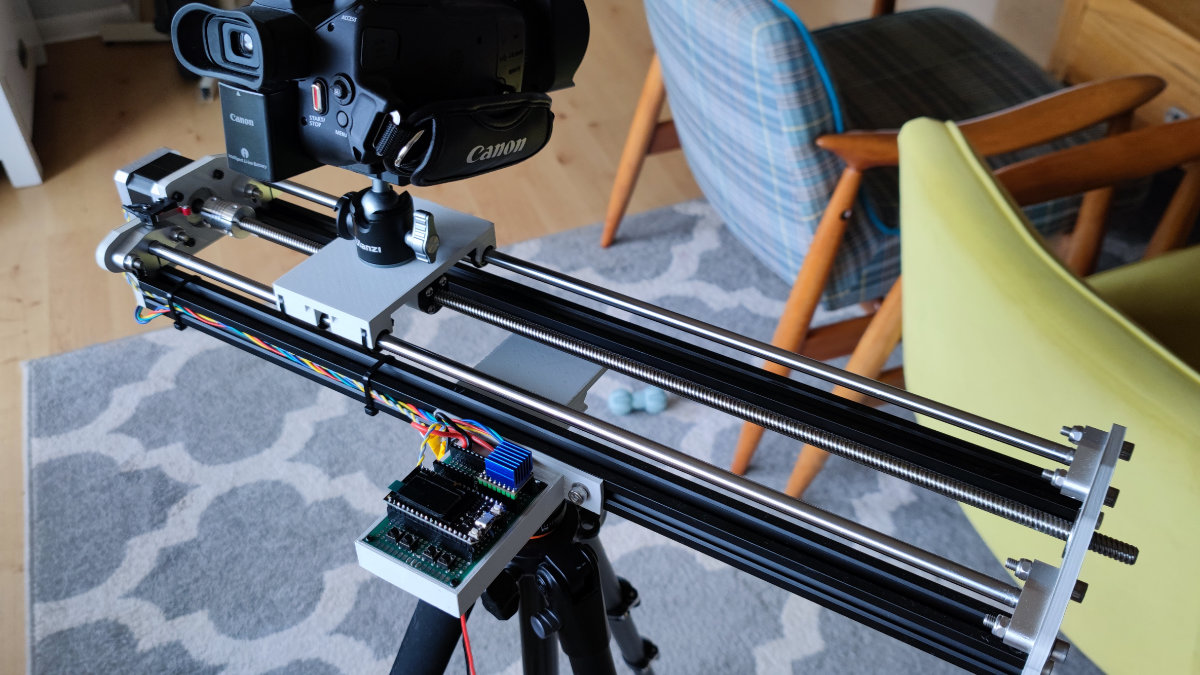
My motorized camera slider uses ESP32 with Arduino. ESP32 provides both WiFi Web interface for the slider and drives a single NEMA17 stepper motor with a TMC2209 step stick driver.
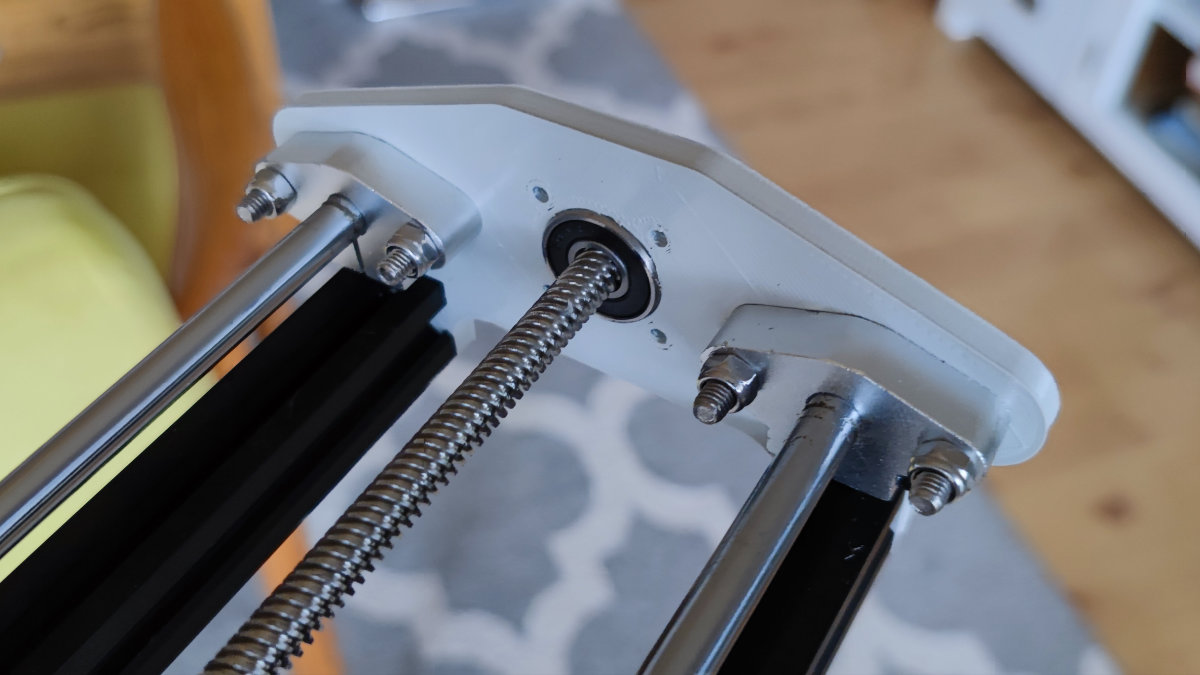
The whole contraption is built with 500mm long (approx. 24”) 2020 V-slot aluminum profiles and 3D printed elements. The carriage travels on 8mm linear rods. The NEMA17 stepper motor is connected to TR8 8mm lead screw.

I have chosen TMC2209 stepper motor drivers but decided not to use a serial interface and connect it to ESP32 with a standard step/direction interface. Thanks to this, the design is compatible with older and cheaper step sticks like DRV8825 or A4988. The only thing to remember is that the camera slider is calibrated for 1:8 microstepping (TMC2209 default), so other stepsticks should also be configured for 1:8 micro steps.

Because it’s ESP32, WiFi and web interface were an obvious choice. Yes, there are 4 buttons and an OLED screen, but the whole idea is to have it operate by remote control from your smartphone!
I do have to say, that I had some problems with running both ESP32 WebServer and TMC2209 stepper driver. The basic examples for ESP32 web servers are synchronous and blocking. That was a no-go for the stepper driver. Yes, ESP32 allows you to run multiple threads on both cores, but the fastest task scheduling is only 1ms. That’s too slow for the stepper motor, especially in micro-stepping mode. The solution was the ESPAsyncWebServer library. With that, the web-based interface runs flawlessly!

Code snippets
Low Level Stepper motor driver
The code below can be run on the main loop function as often as possible. Requested rotation speed is passed in stepsPerSecond[0]
static unsigned long nextChange = 0;
static uint8_t currentState = LOW;

if (_systemFlags & SYSTEM_FLAG_EMERGENCY_STOP) {
    digitalWrite(PIN_STEP1_DIRECTION, LOW);
    digitalWrite(PIN_STEP1_STEP, LOW);
} else {

    if (stepsPerSecond[0] == 0) {
        currentState = LOW;
        digitalWrite(PIN_STEP1_STEP, LOW);
    } else {
        if (micros() > nextChange) {

            if (currentState == LOW) {
                currentState = HIGH;
                nextChange = micros() + 30;

                if (stepsPerSecond[0] > 0) {
                    currentPosition[0]++;
                } else if (stepsPerSecond[0] < 0) {
                    currentPosition[0]--;
                }
            } else {
                currentState = LOW;
                nextChange = micros() + (1000 * abs(1000.0f / stepsPerSecond[0])) - 30;
            }

            if (stepsPerSecond[0] > 0) {
                digitalWrite(PIN_STEP1_DIRECTION, LOW);
            } else {
                digitalWrite(PIN_STEP1_DIRECTION, HIGH);
            }
            digitalWrite(PIN_STEP1_STEP, currentState);
        }
    }

}
Asynchronous WebServer with ESPAsyncWebServer
String pageContent() {
    String pageContent;
    pageContent = "<!DOCTYPE html><html>";
    pageContent += "<head><meta name=\"viewport\" content=\"width=device-width, initial-scale=1\">";
    pageContent += "<link rel=\"icon\" href=\"data:,\">";
    pageContent += "<style>html { font-family: Helvetica; display: inline-block; margin: 0px auto; text-align: center;}";
    pageContent += ".button { background-color: #4CAF50; border: none; color: white; padding: 16px 40px; text-decoration: none; font-size: 30px; margin: 2px; cursor: pointer;}";
    pageContent += ".button-small { background-color: #0000ff; border: none; color: white; padding: 8px 20px; text-decoration: none; font-size: 15px; margin: 2px; cursor: pointer;}";
    pageContent += ".button2 {background-color: #ff0000;}</style></head>";

    pageContent += "<body><h1>DIY Camera Slider</h1>";

    pageContent += "<p><a href=\"/forward\"><button class=\"button\">Forward</button></a></p>";
    pageContent += "<p><a href=\"/stop\"><button class=\"button button2\">Stop</button></a></p>";
    pageContent += "<p><a href=\"/backward\"><button class=\"button\">Backward</button></a></p>";

    pageContent += "<p>";
    pageContent += "<a href=\"/slow\"><button class=\"button-small\">Slow</button></a>";
    pageContent += "<a href=\"/mid\"><button class=\"button-small\">Mid</button></a>";
    pageContent += "<a href=\"/fast\"><button class=\"button-small\">Fast</button></a>";
    pageContent += "</p>";

    pageContent += "</body></html>";

    return pageContent;
}

void notFound(AsyncWebServerRequest *request) {
    request->send(404, "text/plain", "Not found");
}

void setup()
{
    WiFi.softAP(ssid, password);
    IPAddress IP = WiFi.softAPIP();

    server.on("/", HTTP_GET, [](AsyncWebServerRequest *request){
        request->send(200, "text/html", pageContent());
    });

    server.on("/forward", HTTP_GET, [](AsyncWebServerRequest *request){
        requestedPosition[0] = 81000;
        _systemFlags |= SYSTEM_FLAG_REQUESTING_POSITION;
        request->send(200, "text/html", pageContent());
    });

    server.on("/backward", HTTP_GET, [](AsyncWebServerRequest *request){
        requestedPosition[0] = 0;
        _systemFlags |= SYSTEM_FLAG_REQUESTING_POSITION;
        request->send(200, "text/html", pageContent());
    });

    server.on("/stop", HTTP_GET, [](AsyncWebServerRequest *request){
        requestedPosition[0] = currentPosition[0];
        targetPosition[0] = currentPosition[0];
        _systemFlags |= SYSTEM_FLAG_REQUESTING_POSITION;
        request->send(200, "text/html", pageContent());
    });

    server.onNotFound(notFound);
    server.begin();

}
Source code
The source code, BOM and other instructions are available on GitHub

I'm Paweł Spychalski and I do things. Mainly software development, FPV drones and amateur cinematography. Here are my YouTube channels:
