-
All about Lomo Smena 8M vintage camera
The Smena 8M is a Soviet-era 35mm film camera that was first produced in the early 1970s by LOMO, a camera manufacturer based in St. Petersburg, Russia. Despite its relatively simple design and budget price, the Smena 8M has become a popular choice among film photographers for its compact size, ease of use, and versatility.
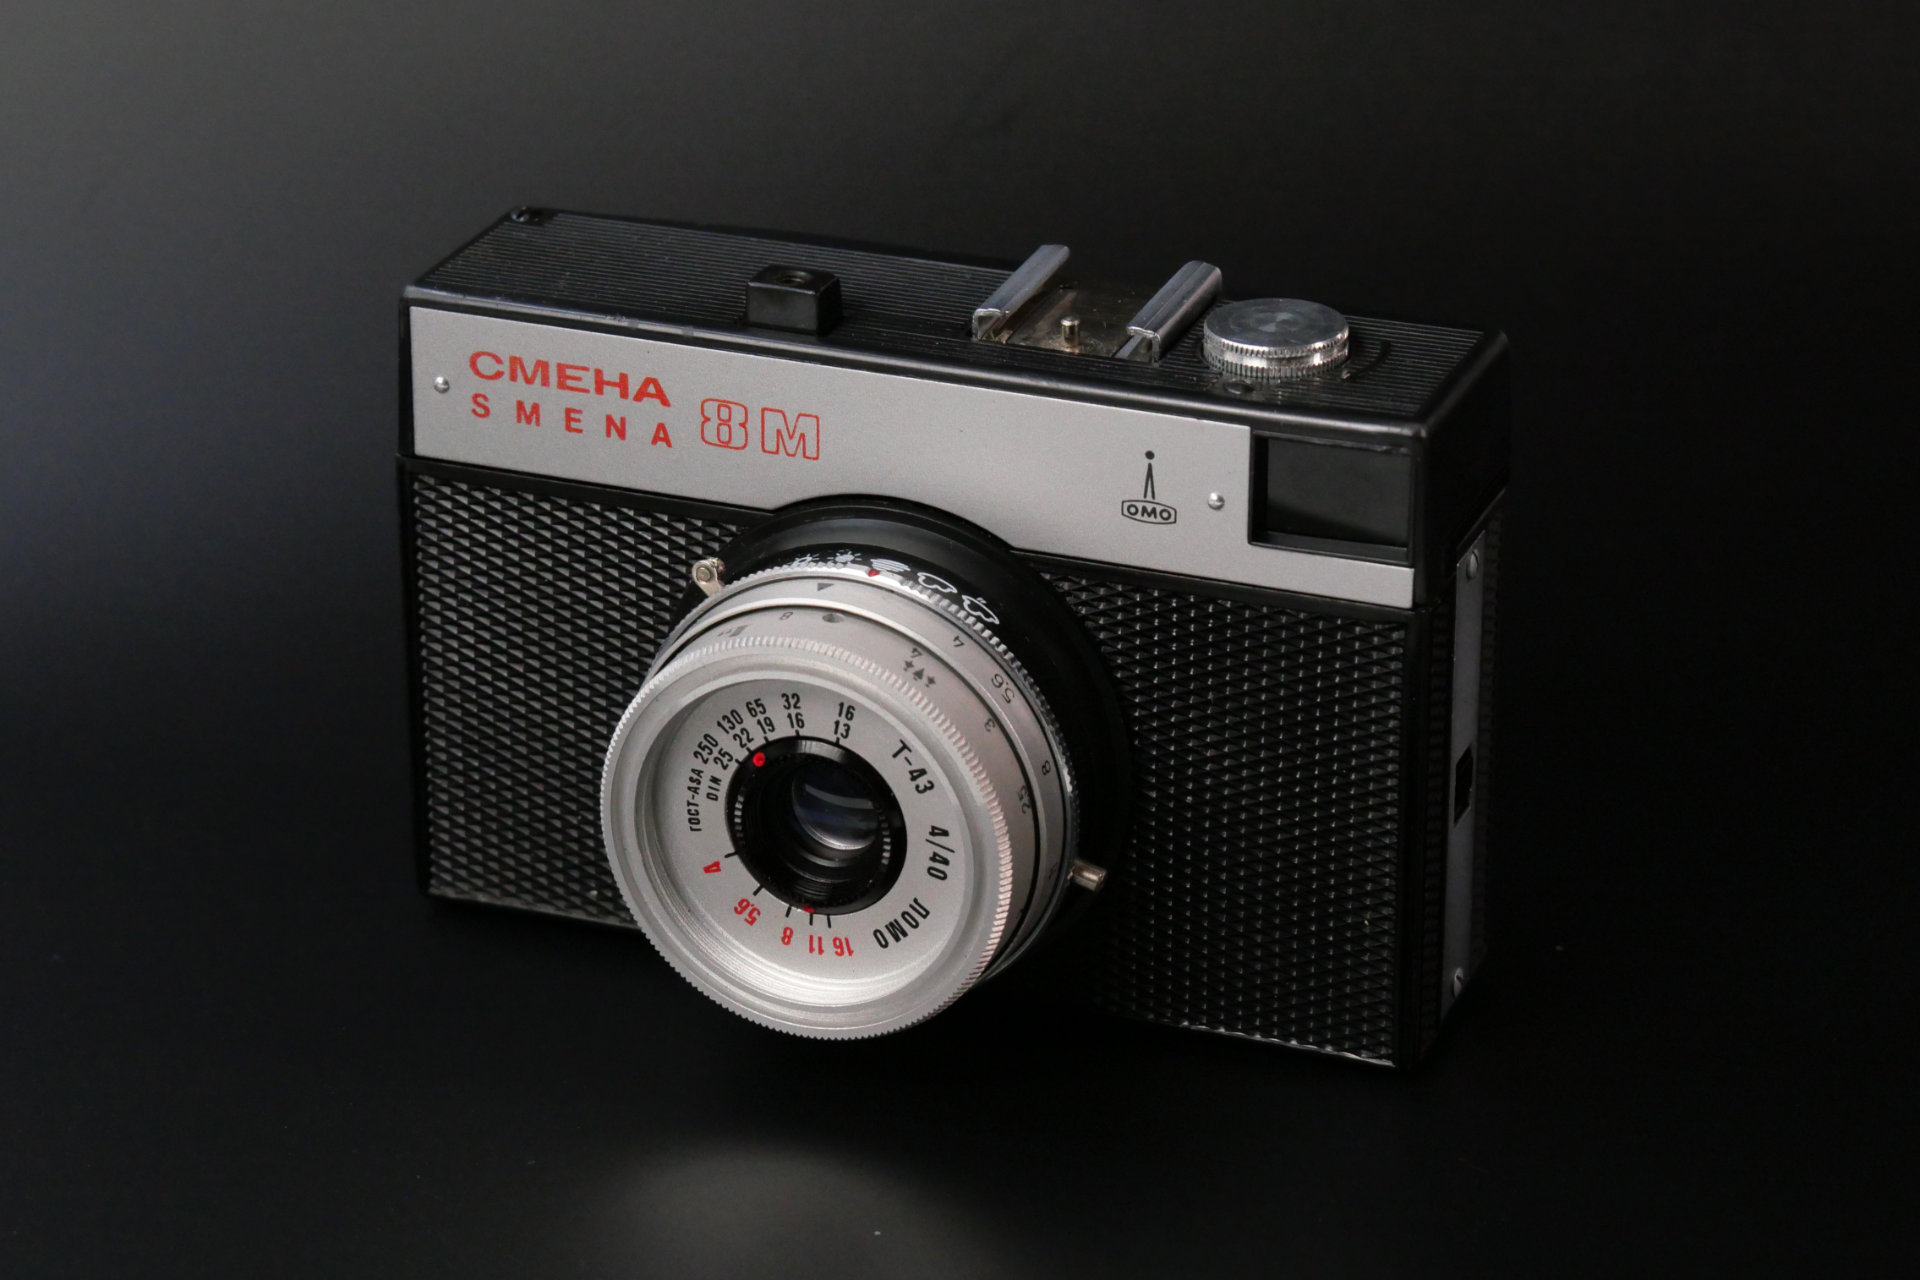
One of the standout features of the Smena 8M is its size and weight. At just 120 grams, it is one of the lightest film cameras on the market, making it an ideal choice for photographers who want a compact and portable option. Despite its small size, the Smena 8M is still built with a robust metal body, providing a durable and reliable option for photographers.
Step 1: Load the film To load film into the Smena 8M, first, make sure that the camera’s back is open. Then, insert the film into the film chamber, making sure that the sprockets on the film line up with the teeth on the take-up spool. Wind the film advance lever several times to make sure that the film is properly tensioned, then close the back of the camera.
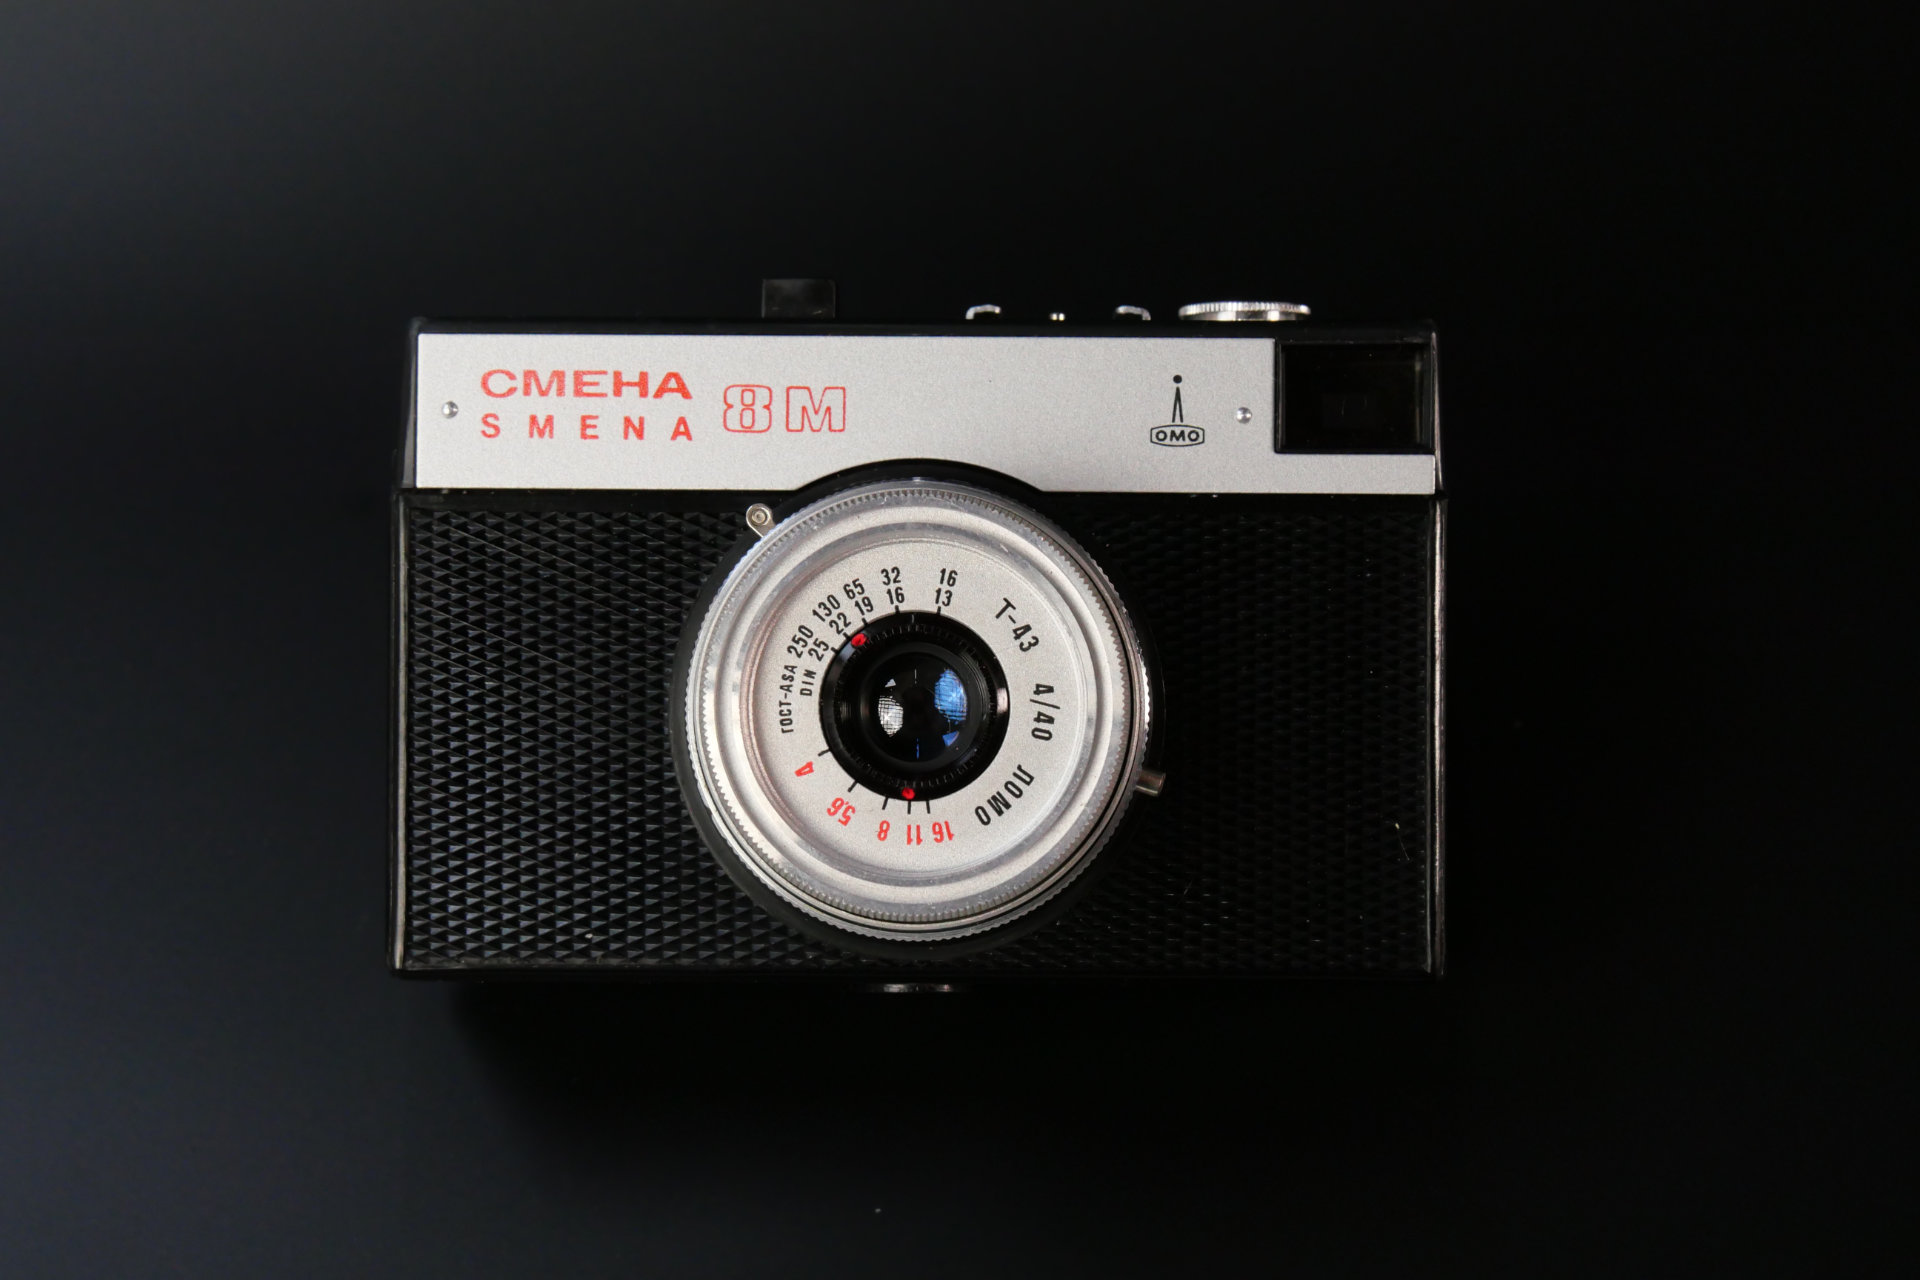
Step 2: Set the ISO The Smena 8M does not have a built-in light meter, so you will need to determine the ISO for your film. You can usually find this information on the film box or on the film’s packaging. Once you have the ISO, set the ISO dial on the top of the camera to the correct setting.
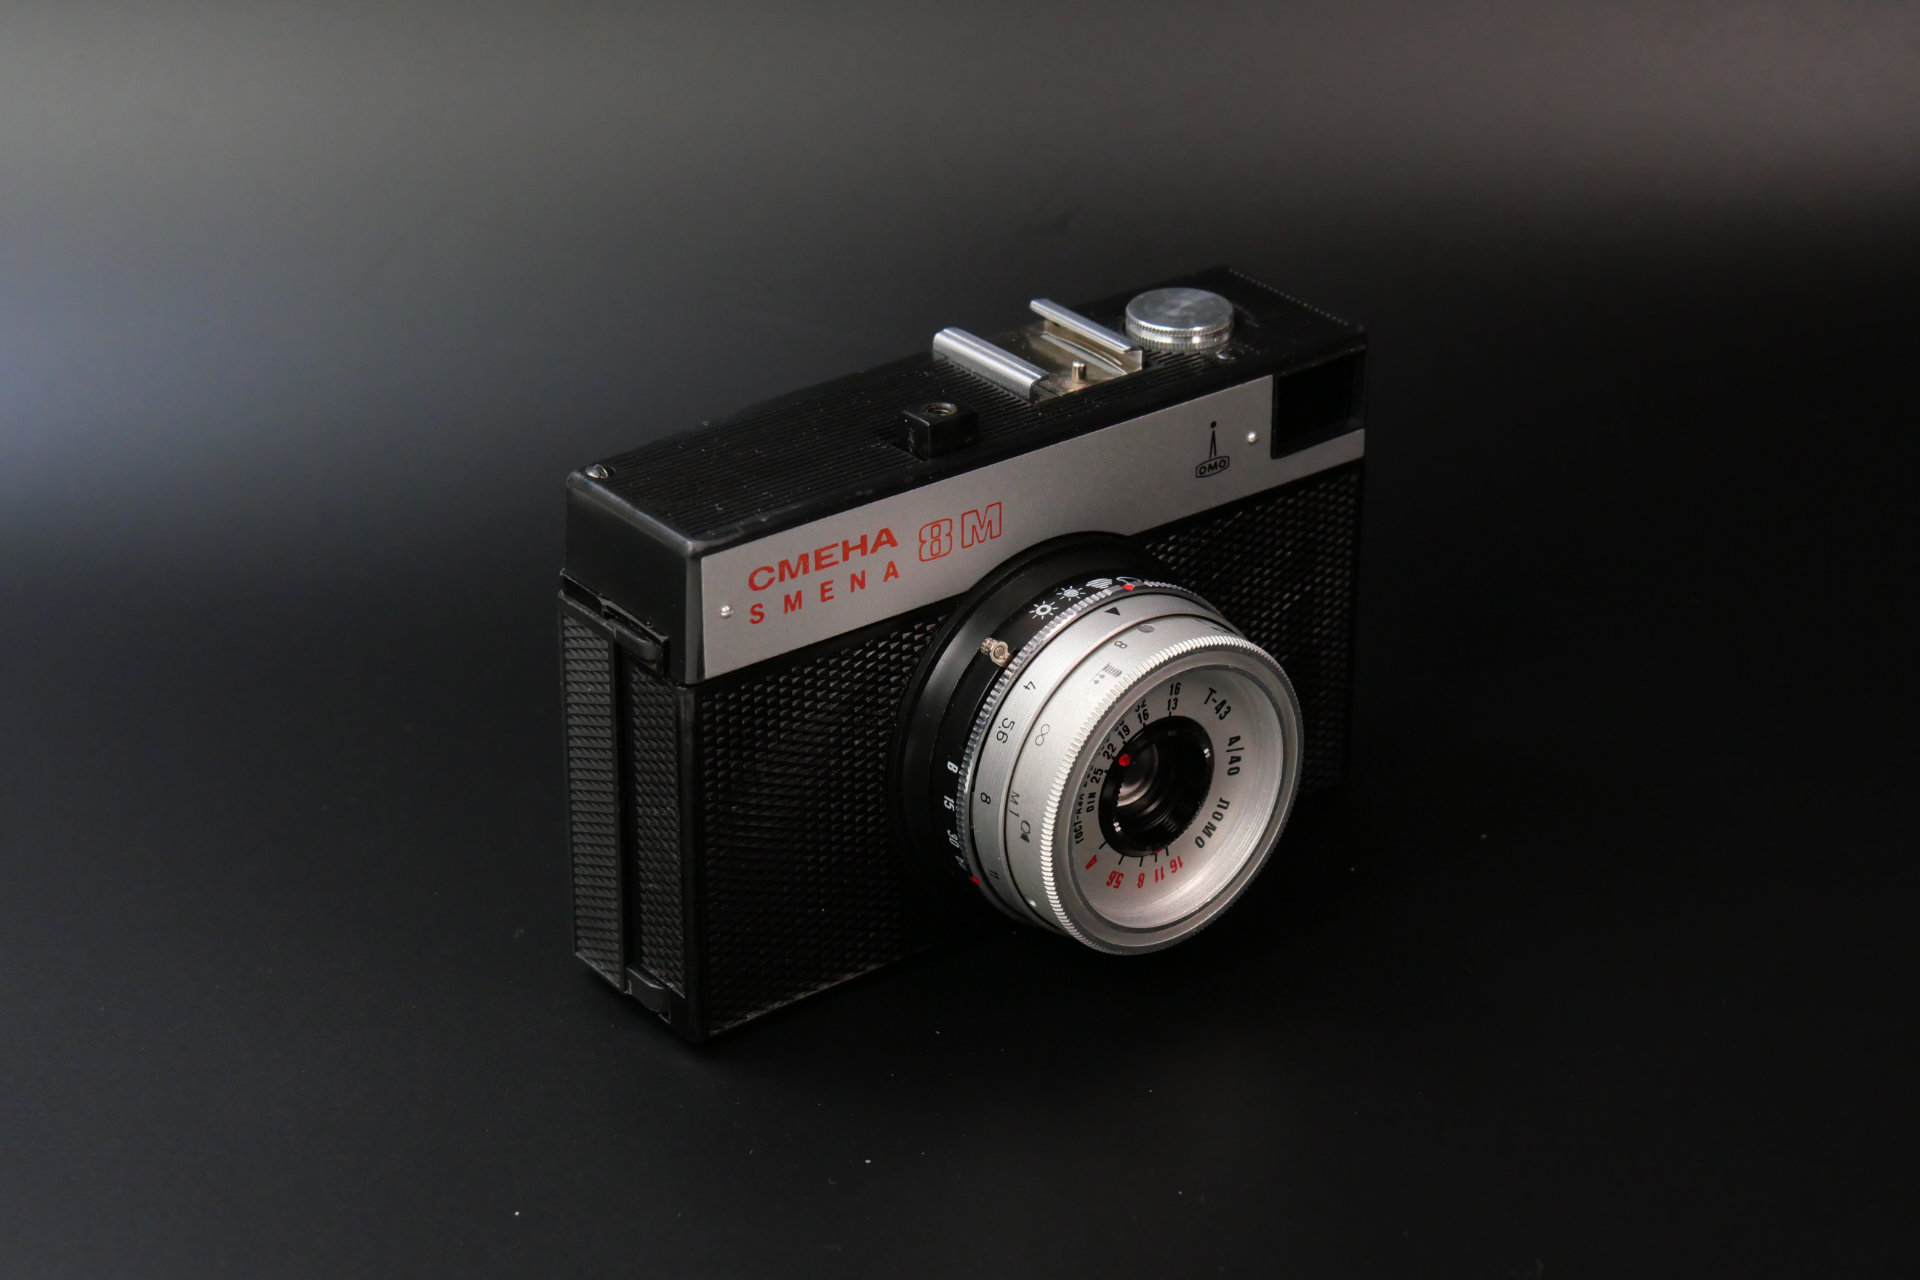
Step 3: Focus The Smena 8M has a fixed-focus lens, so you do not need to adjust the focus. The lens is set to focus at a distance of around 3 meters, so it is best suited for portraits and landscapes.
Step 4: Adjust the aperture The Smena 8M has a simple aperture control system, with two settings - f/8 and f/11. To adjust the aperture, simply rotate the aperture control ring until the desired setting is lined up with the white dot on the lens.
Step 5: Take the photo Once you have set the ISO, focused, and adjusted the aperture, you are ready to take a photo. Make sure that the camera is steady, and press the shutter button to take the photo. Wind the film advance lever to the next frame, and you are ready to take another photo.
Step 6: Rewind the film When you have used up the entire roll of film, rewind the film by turning the rewind knob on the bottom of the camera. This will rewind the film back into its canister, and you can remove it from the camera.
Read more... -
Meike 8mm f2.8 for MFT review
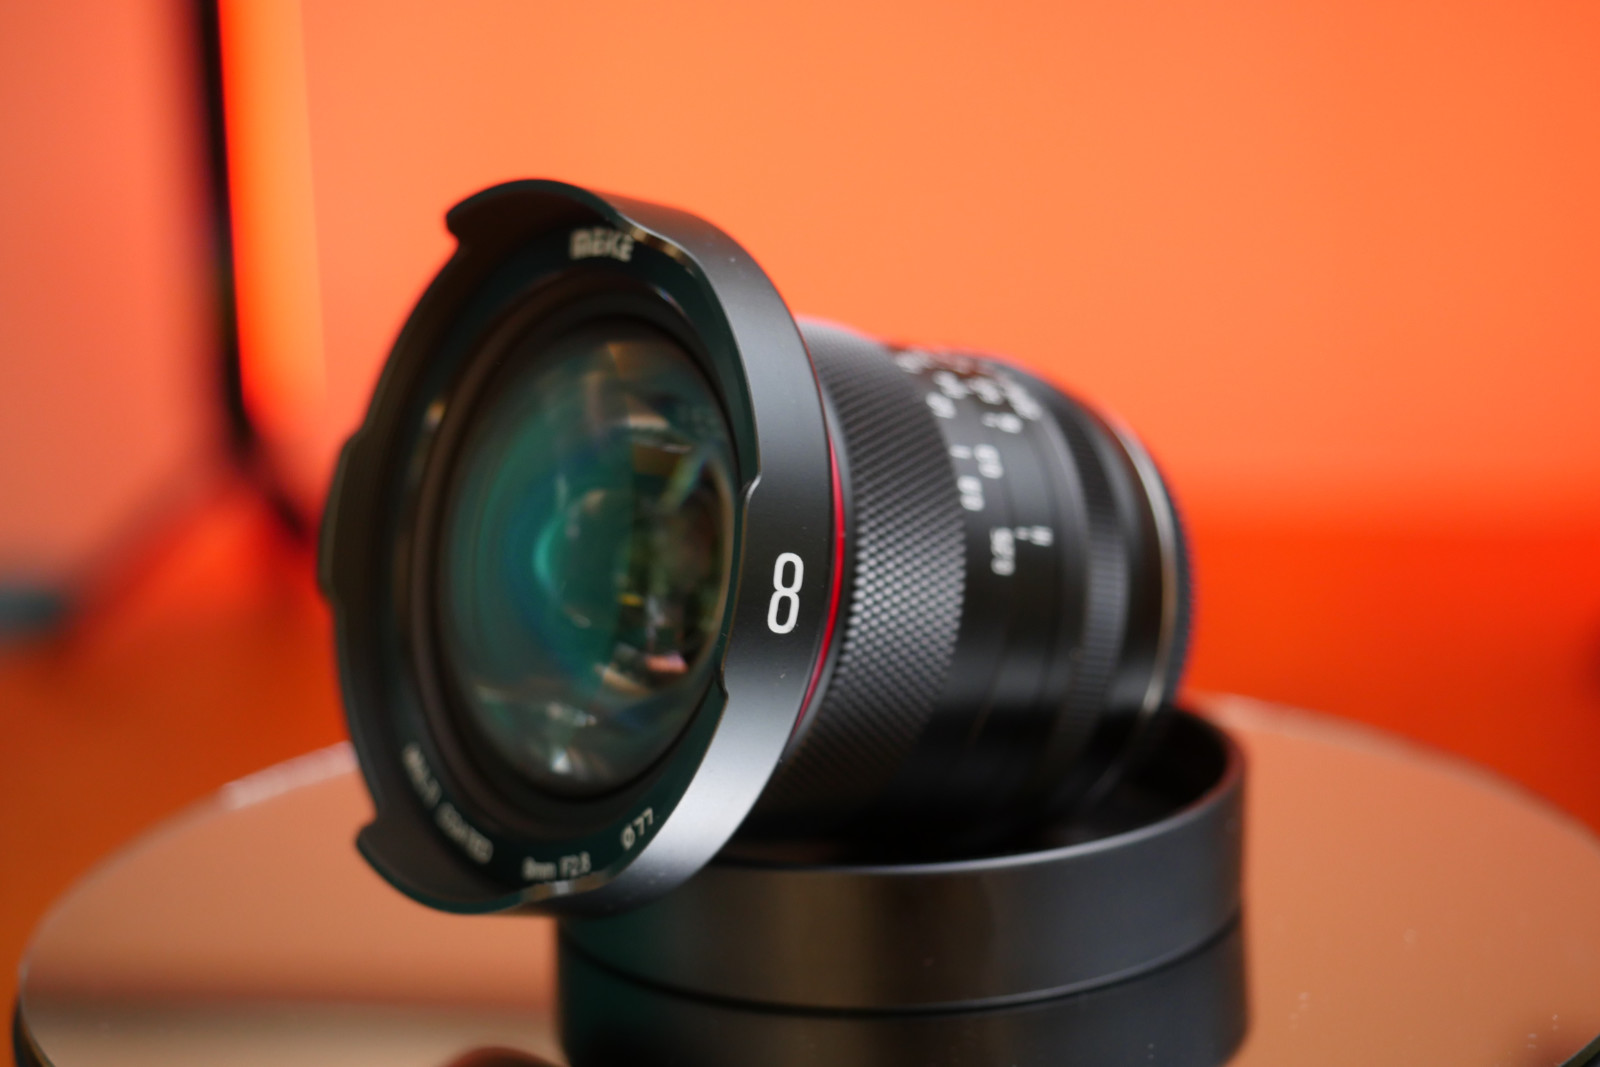
Ultra wide, non fish-eye lenses are a type of camera lens that have a wider field of view than standard lenses, but do not produce the distortion often associated with fish-eye lenses. These lenses are ideal for landscape photography, architectural photography, and other types of photography where a wide field of view is desired. And , in some cases, for videography. Especially when you are running a YouTube channel and filming yourself sitting at your desk! Try to work with standard lens in such conditions! And here comes the Meike 8mm F2.8 for Micro Four Thirds (Olympus and Panasonic) that not only is wide, but also extremely sharp and optically corrected!
One of the main benefits of ultra wide, non fish-eye lenses is that they allow photographers to capture more of the scene in front of them. This can be especially useful when shooting in tight spaces or when trying to capture a panoramic view. These lenses also allow for a greater sense of depth and perspective in photos, which can help to make them more visually interesting and dynamic.
Another benefit of ultra wide, non fish-eye lenses is that they do not produce the distortion often associated with fish-eye lenses. Fish-eye lenses have a very wide field of view, but they also produce a distortion known as “barrel distortion,” which can make straight lines appear curved. This can be problematic for certain types of photography, such as architectural photography, where straight lines are important. Ultra wide, non fish-eye lenses do not produce this distortion, making them a better choice for these types of photography.
When choosing an ultra wide, non fish-eye lens, there are a few things to consider. First, consider the focal length of the lens. Ultra wide lenses typically have a shorter focal length than standard lenses, which means that they are more “zoomed out.” This can be beneficial for capturing a wide field of view, but it can also make it more difficult to capture details in the distance.
Next, consider the aperture of the lens. Aperture is the size of the lens opening, and it controls the amount of light that enters the camera. A wider aperture (such as f/2.8) will allow more light to enter the camera, making it possible to shoot in lower light conditions. However, it will also make the depth of field shallower, meaning that only the subject of the photo will be in focus and the background will be more blurry.
Lastly, consider the build quality and image stabilization feature. Lenses with a high build quality and image stabilization feature will produce sharper images even in low light and when shooting with a low shutter speed.
If you want to know what I think about Meike 8mm F2.8 for MFT and how it changed my YouTube Studio and my Panasonic Lumix GH5 mart II, watch the video!
Read more... -
Hibernate could not initialize proxy - no Session
The org.hibernate.LazyInitializationException: could not initialize proxy error is a common issue that can occur when working with the Hibernate ORM (Object-Relational Mapping) framework in a Spring Boot application. This error occurs when Hibernate is unable to initialize a proxy object, which is an object that is used to lazily load data from the database.
When a proxy object is created, it does not contain any data and is only used to load the data when it is accessed. This is known as lazy loading. However, if the data is not loaded before the session is closed, the proxy object will not be able to load the data and will throw the org.hibernate.LazyInitializationException: could not initialize proxy error.
There are a few common causes of this error:
-
The session is closed before the proxy object is accessed: This can happen if the session is closed before the proxy object is accessed, for example, by closing the entity manager or the transaction too early. To fix this issue, make sure the session is open when the proxy object is accessed.
-
The proxy object is accessed outside of a transaction: Hibernate requires a transaction to be active when initializing a proxy object. If the proxy object is accessed outside of a transaction, the org.hibernate.LazyInitializationException: could not initialize proxy error will be thrown.
-
The fetch mode is set to lazy: By default, Hibernate uses lazy loading for all associations. If you want to load the associated data immediately, you can set the fetch mode to “eager”.
-
The EntityGraph is not correctly configured: When using an EntityGraph, it is important to configure it correctly. If the EntityGraph is not correctly configured, the org.hibernate.LazyInitializationException: could not initialize proxy error will be thrown.
The fix
To fix the
org.hibernate.LazyInitializationException: could not initialize proxyerror, you need to make sure that the session is open when the proxy object is accessed, the proxy object is accessed within a transaction, the fetch mode is set to eager, and the EntityGraph is correctly configured. Additionally, you can use the OpenSessionInView pattern which keeps the session open throughout the entire request-response cycle, allowing the proxy objects to be initialized properly.With a simple configuration change
Configure Hibernate with
<property name="hibernate.enable_lazy_load_no_trans" value="true"/>or when using Spring, add the following property to your application.properties file:
spring.jpa.properties.hibernate.enable_lazy_load_no_trans=trueThere is a price to pay, as it will cause a performance hit. Hibernate will now initialize all lazy loaded objects, even if they are not accessed.
With a FetchType.EAGER
Instead of doing
@NotNull
@ManyToOne
@JoinColumn(name="video_id")
private VideoEntity video;
do
@NotNull
@ManyToOne(fetch = FetchType.EAGER)
@JoinColumn(name="video_id")
private VideoEntity video;
With a EAGER fetching when using Criteria
Just set
Criteriafetch mode toFetchMode.EAGERRead more...Criteria criteria = session.createCriteria(VideoScoreEntity.class); criteria.setFetchMode("video", FetchMode.EAGER); -
-
How to create and register Spring Boot custom request filter
Creating a custom request filter in Spring Boot is a relatively simple process that can be accomplished by following a few basic steps.
-
Create a new class that extends the OncePerRequestFilter class. This ensures that the filter will be executed only once per incoming request.
-
In your filter class, override the doFilter method. This method is called for each request that is sent to your application. In this method, you can perform any logic you want to execute for the filter, such as logging, authentication, or validation.
-
Annotate your filter class with @Component so that Spring Boot can automatically discover and register it as a filter.
-
Use the @Order annotation to specify the order in which the filter should be executed relative to other filters. Filters with a lower order value will be executed first.
@Component
@Order(1)
public class MyCustomFilter extends OncePerRequestFilter {

    @Override
    protected void doFilterInternal(
        HttpServletRequest request,
        HttpServletResponse response,
        FilterChain filterChain
    ) throws ServletException, IOException {

        // do some stuff

        filterChain.doFilter(request, response);
    }
}
To apply the filter to specific URLs, use a
@Beanannotation to assign the filter only to request that meet criteria. For example, the code below attaches theMyCustomFilter.classonly to request that match the/api/*patch pattern.Read more...@Component @Order(1) public class MyCustomFilter extends OncePerRequestFilter { @Override protected void doFilterInternal( HttpServletRequest request, HttpServletResponse response, FilterChain filterChain ) throws ServletException, IOException { // do some stuff filterChain.doFilter(request, response); } @Bean public FilterRegistrationBean<MyCustomFilter> myCustomerFilter() { FilterRegistrationBean<MyCustomFilter> bean = new FilterRegistrationBean<>(); bean.setFilter(new MyCustomFilter()); bean.addUrlPatterns("/api/*"); return bean; } } -
-
Vintage lens Helios 44-2 review
There is a sentiment to old lenses. Many say that modern one are too good, too sharp, too sterile. While vintage lenses thanks to all the imperfections and softness have soul. The cheapest of vintage lenses in Helios 44 from USSR! Let’s take a look at one of my Helios 44-2 58mm f/2 lenses and compare how it stands against modern Panasonic Leica DG 12-60 Vario Elmarit f/2.8-4.0. Let’s take a look at sharpness, color, contrast and bokeh. Oh, I know those Helios 44 very well! When I was growing up, they were basically only lenses one could afford. And you know what, we were not the biggest fans of them.
Read more... -
How to change Timeline framerate in DaVinci Resolve
When I started my adventure with DaVinci Resolve, one of the biggest limitations I discovered what that it’s not possible to change the framerate of a Timeline. If you created a 30fps timeline, it would remain 30fps timeline. Once you start editing, you even can not change the project framerate! Luckily, there is a trick that allows, to some extend, change the framerate of the timeline. It’s not the most obvious one, but it does the trick and in no time you will be able to change the framerate in DaVinci Resolve!
Read more... -
ArteryTek AT32 Flight Controller - NeutronRC F435
OK, I’m kind of hyped with this! What you see on the image looks like an any other flight controller, right? Looks again! It’s not STM32 but ArteryTek AT32! And F435 as a bonus 😉 With the continuing chip shortage supply of STM32 is limited and prices high. Maybe have an alternative source of MCUs will help. What you see is a NeutronRC F435 with AT32! For now, it runs a special fork of Betaflight.
Read more...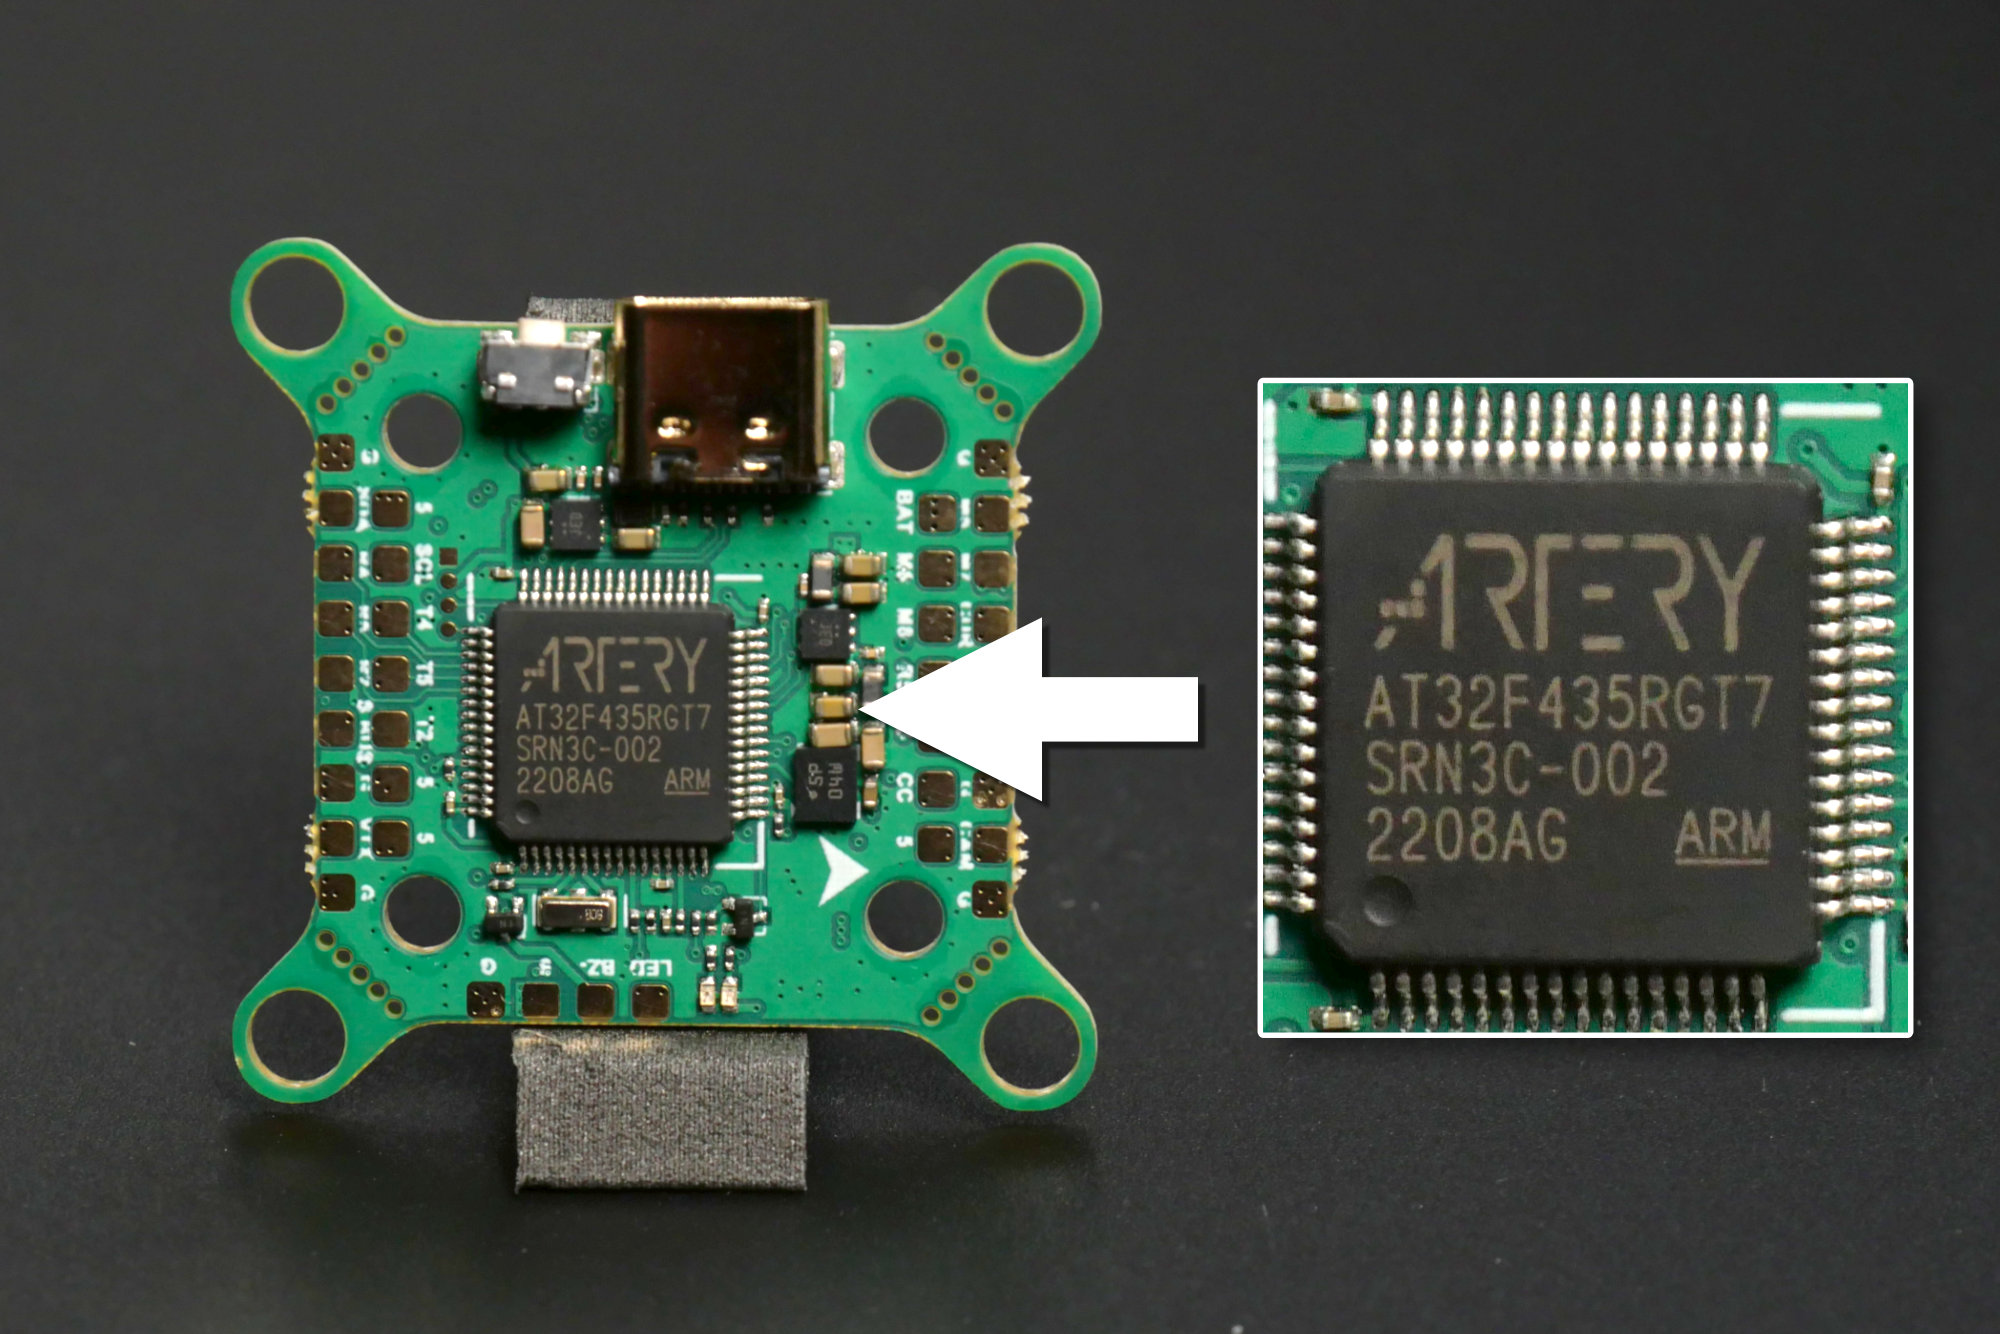
-
How to normailize audio for YouTube with DaVinci Resolve
Audio mastering/normalization is very important. If your audio levels are too low, viewers will not hear well. If they are too high, clipping and distortions will lower the quality. On top of that, platforms like YouTube expects you to upload materials with certain loudness. If your loudness is too high, YouTube will lower your videos volume. But if it’s too low, it will not bring the volume up. Setting correct audio level by ear is not the best idea. Luckily, loudness can be measured with LUFS and we can modify audio tracks to reach desired loudness. In this tutorial I will show you how to do it with DaVinci Resolve for YouTube.
Our goal will be to reach -14LUFS with BS.1770-4 loudness and around -1.5dB True Peaks with DaVinci Resolve 18 and Fairlight module. I will show you how to measure loudness and how to use audio compressor to reach desired levels. Because just setting up the gain if often to enough.
Read more... -
Spring HDMI cable for a field monitor
I had no idea that connecting a field monitor to a camera can be that hard! Yes, mount or a small head is important, but the biggest problem is a HDMI cable. It turned out that my Panasonic Lumix GH5 mark 2 needs around 30cm long HDMI cable to connect to Feelworld F6 PLUS field monitor. And when I added a SmallRig swivel mount, it was even worse. All the short cables from companies like SmallRig or just generic short HDMI cables were just too short! Believe it or not, but I was not able to find anything on Amazon! Only after a long search on AliExpress I’ve found a spring, extensible and angled HDMI cables that fit perfectly! What a waste they are so hard to find in Europe!
Spring HDMI cable is a angled HDMI cable with a springy coil inside. The cable is designed to be used with field monitors, but it can be used with any HDMI device. The springy coil allows you to easily extend and retract the cable. It is also very flexible and can be bent in any direction. The cable is also exceptionally durable and can be used in any weather condition. It is a great cable for field monitors, but it can be used with any HDMI device.
Read more... -
Ulanzi VL110 RGB tube light review
Ulanzi VL110 are small but pretty powerful RGB tube lights. Each tube light has 3 modes (white, pulsing, RGB), USB-C charging, an OLED display, and 1/4” tripod mount. On top of that, Ulanzi VL110 can be stacked together to make bigger and longer light. Pretty cool!
Read more...

I'm Paweł Spychalski and I do things. Mainly software development, FPV drones and amateur cinematography. Here are my YouTube channels: