How to replace the 3d printer nozzle - Prusa i3 MK3S
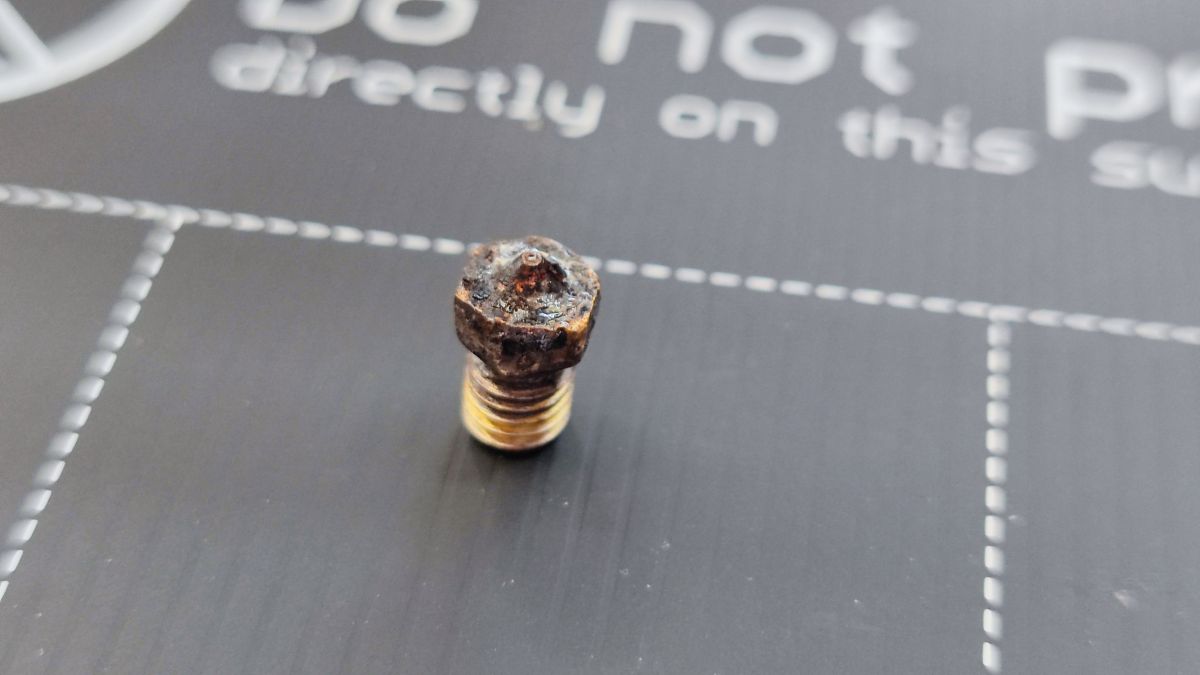
The Prusa i3 nozzle is of good quality. If you treat it well, it will serve you for years. My Prusa i3 MK3S was printing without absolutely any problems for more than two years. Unfortunately, some of the failed filament experiments left too much fowling in the nozzle and although it was printing fine most of the time, at one point I said enough and bought a new one.
If you want to know which one, I got steel, nickel-plated E3D V6. The one that came with the printer was brass.
The process of replacing the nozzle on your Prusa i3 MK3S (and similar) is quite simple, but you will need a few tools:
- 2.5mm HEX screwdriver or Allen wrench to remove 4 screws
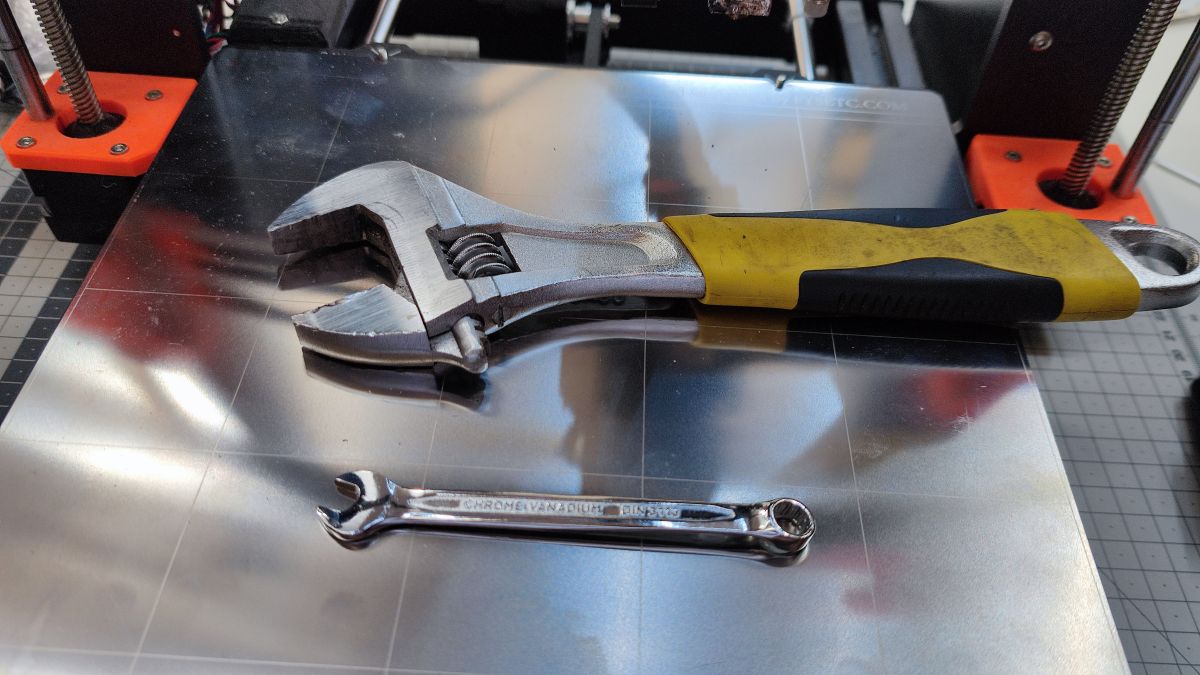
- 7mm flat wrench
- Adjustable wrench “Swede” type or something similar
Step 1
Put the printer on a workbench and heat the nozzle to 180-200 degrees Celcius. This will make the removal of the nozzle easier.
Step 2
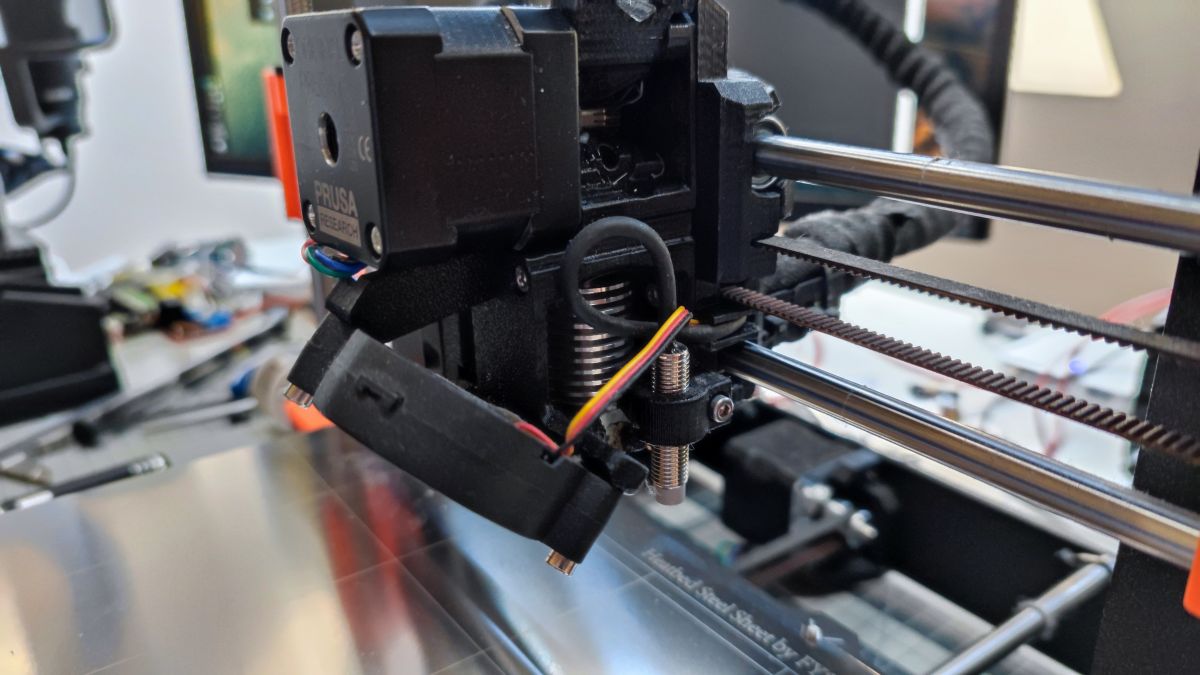
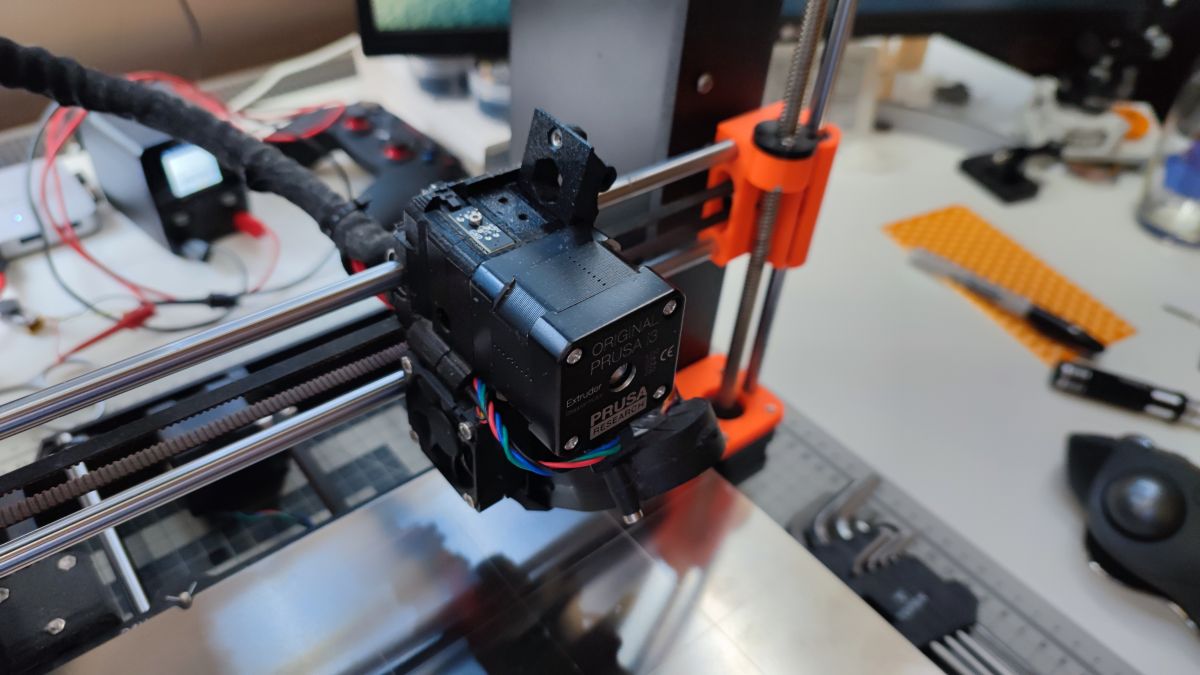
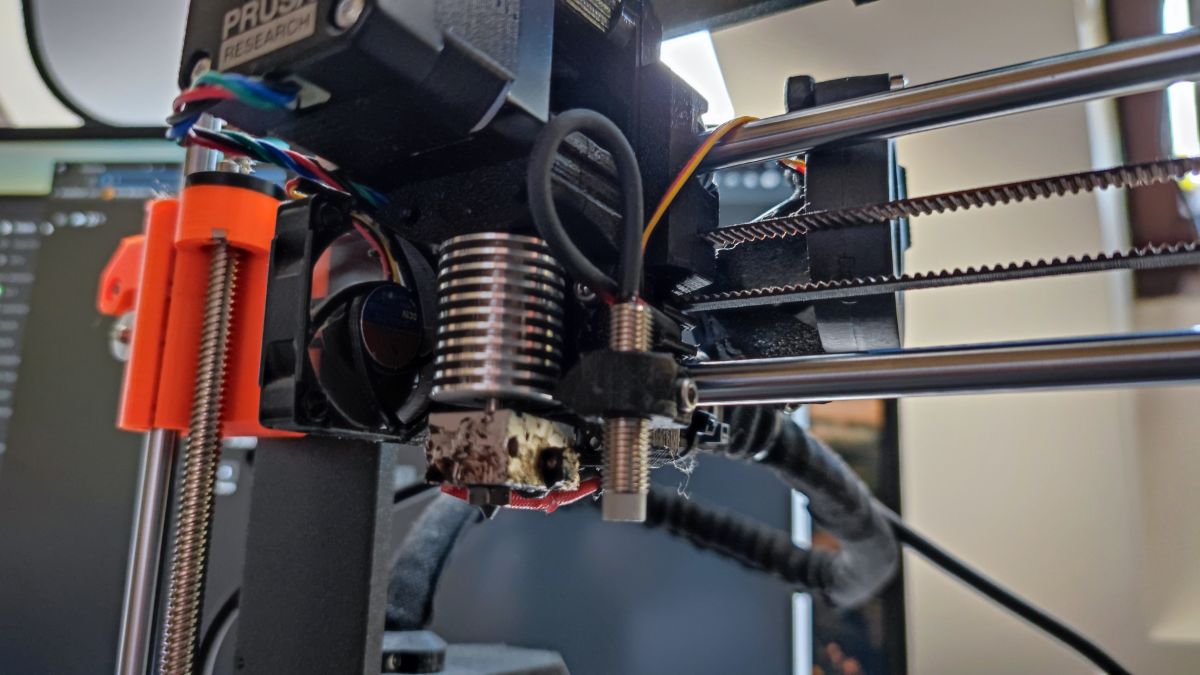
Use the 2.5mm hex screwdriver or Allen wrench to remove 4 screws that hold the nozzle fan assembly. Two will be located below the extruder stepper motor and 2 on the throat fan.
Step 3
Make sure the printing head is high enough and you have the tools at hand.
Step 4
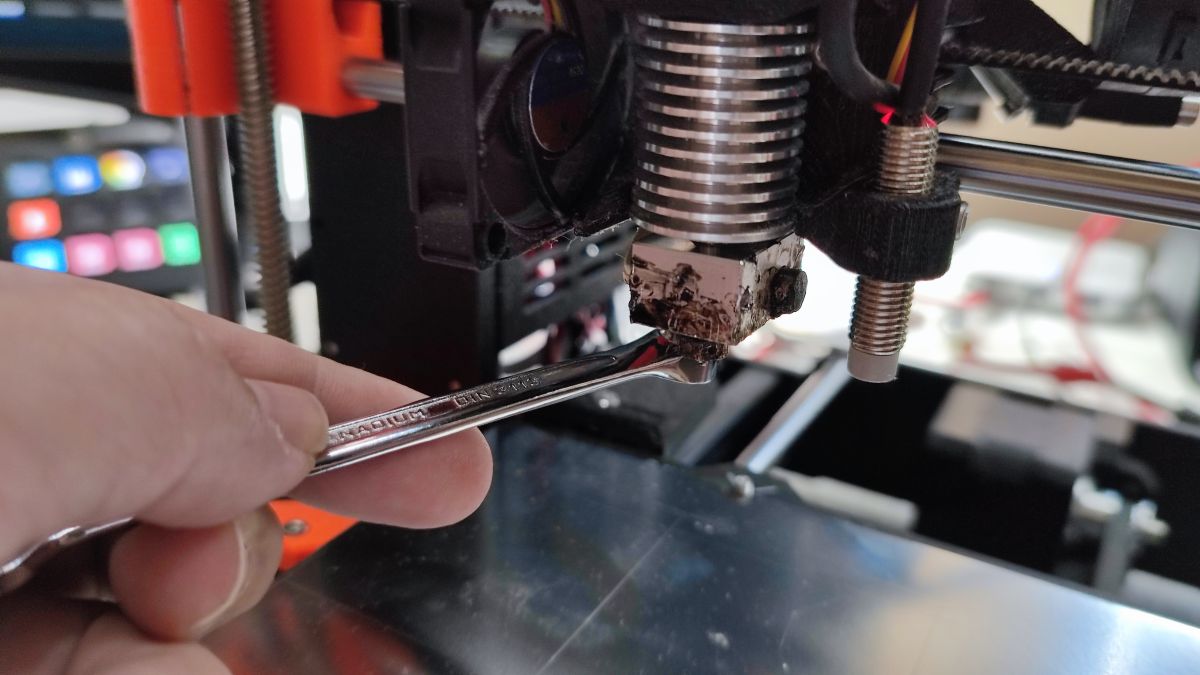
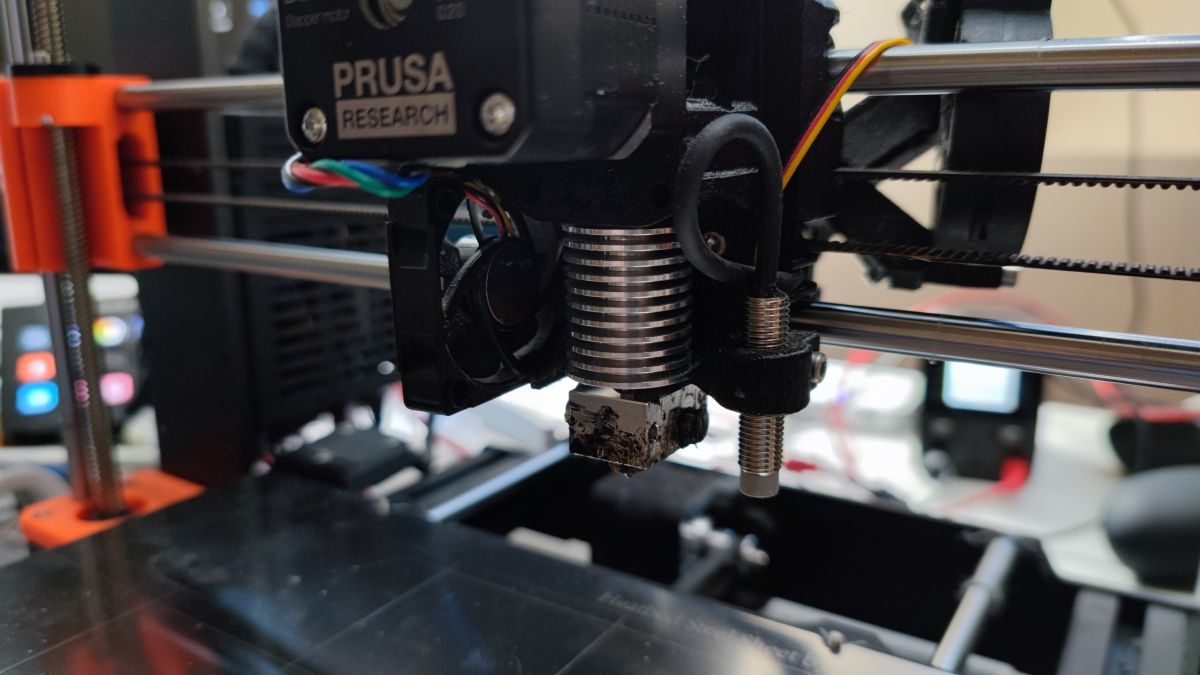
Use the 7mm socket wrench to grab the nozzle and the adjustable wrench to hold the heat block in place. Move the socket wrench counter-clockwise. The nozzle should move without much force. Be careful not to allow the whole heat block assembly to move.
Step 5
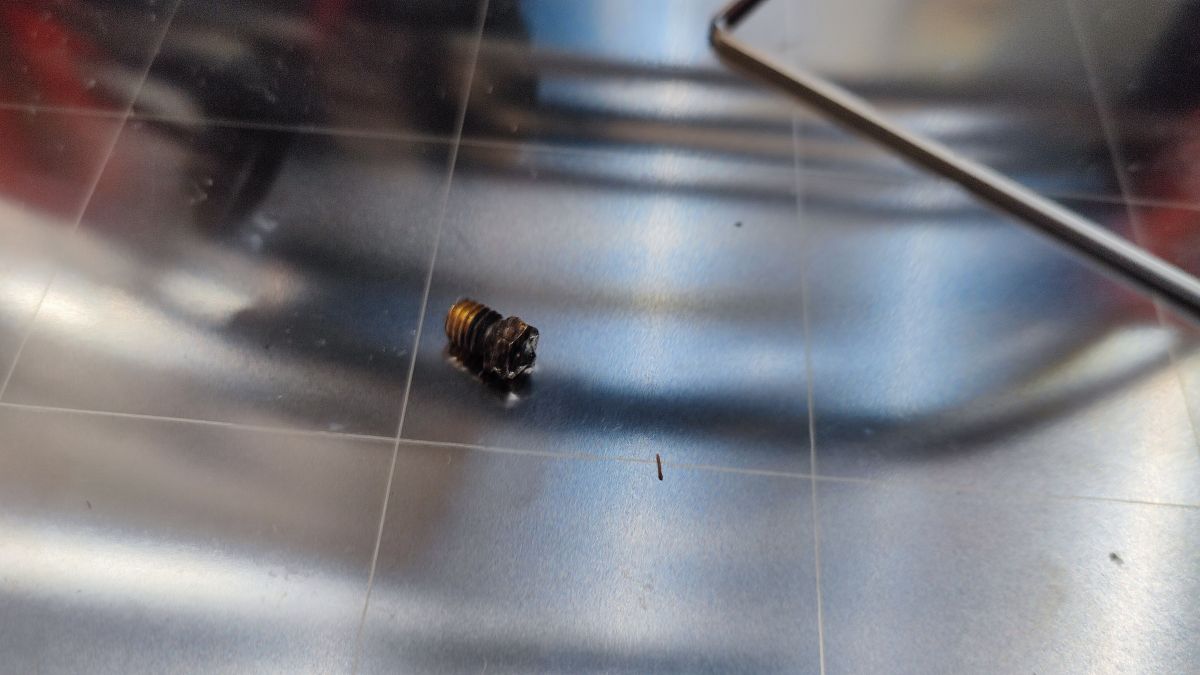
Remove the nozzle. Remember, it’s hot. You do not want to touch anything with bare fingers.
Step 6


Screw in the new nozzle by doing everything you did before, just in reversed order. You want to screw the nozzle in place, but not over-torque the thread. Heat-block is aluminum, so be careful and not overdo it!
And that’s all. The whole procedure takes less than 30 minutes. What is left to do, is to check the first layer calibration. There is a pretty good chance the first layer height will be preserved, but it’s worth making sure. Good quality nozzles should be the same high as the original nozzle.
In my case, after replacing the nozzle, I had to make a tiny adjustment and move the head 0.03mm higher. That’s all.

I'm Paweł Spychalski and I do things. Mainly software development, FPV drones and amateur cinematography. Here are my YouTube channels: